Coffee table
Goal and inspiration
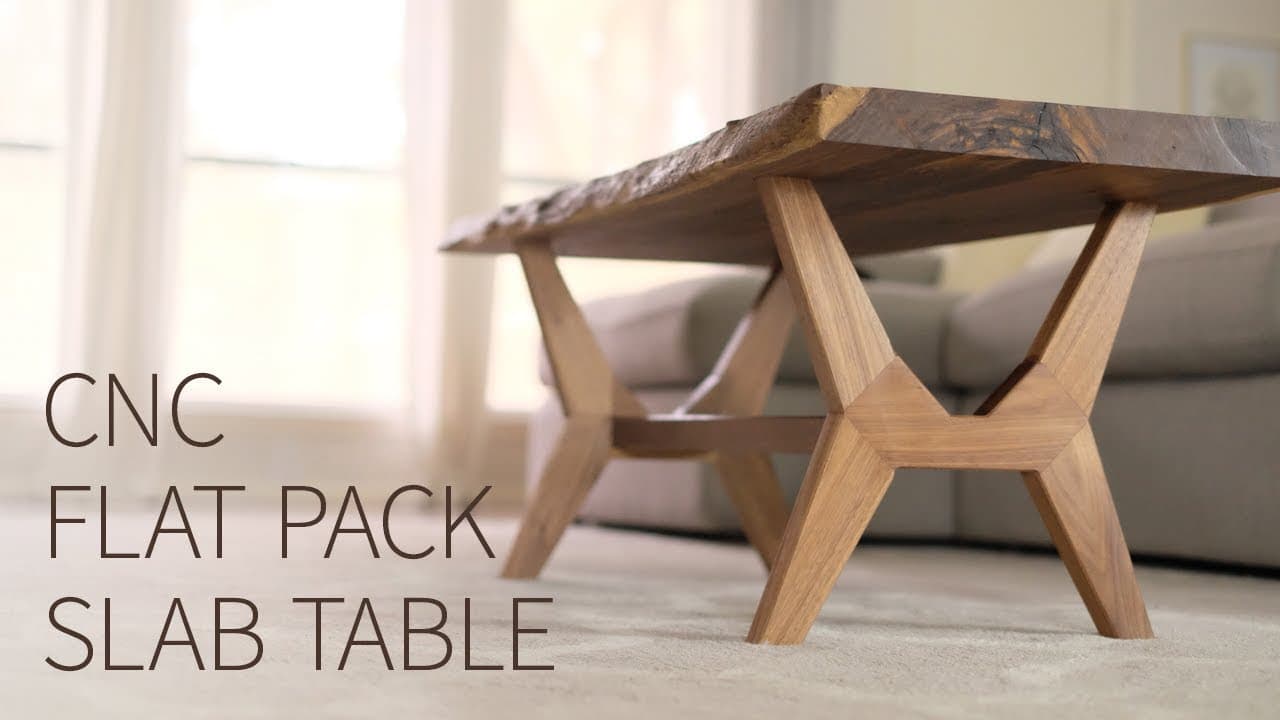 Ever since I watched this Youtube video I knew that I was smitten by its design and that I would build one almost exactly like that for my home. I loved the grain directions in the different parts of the legs.
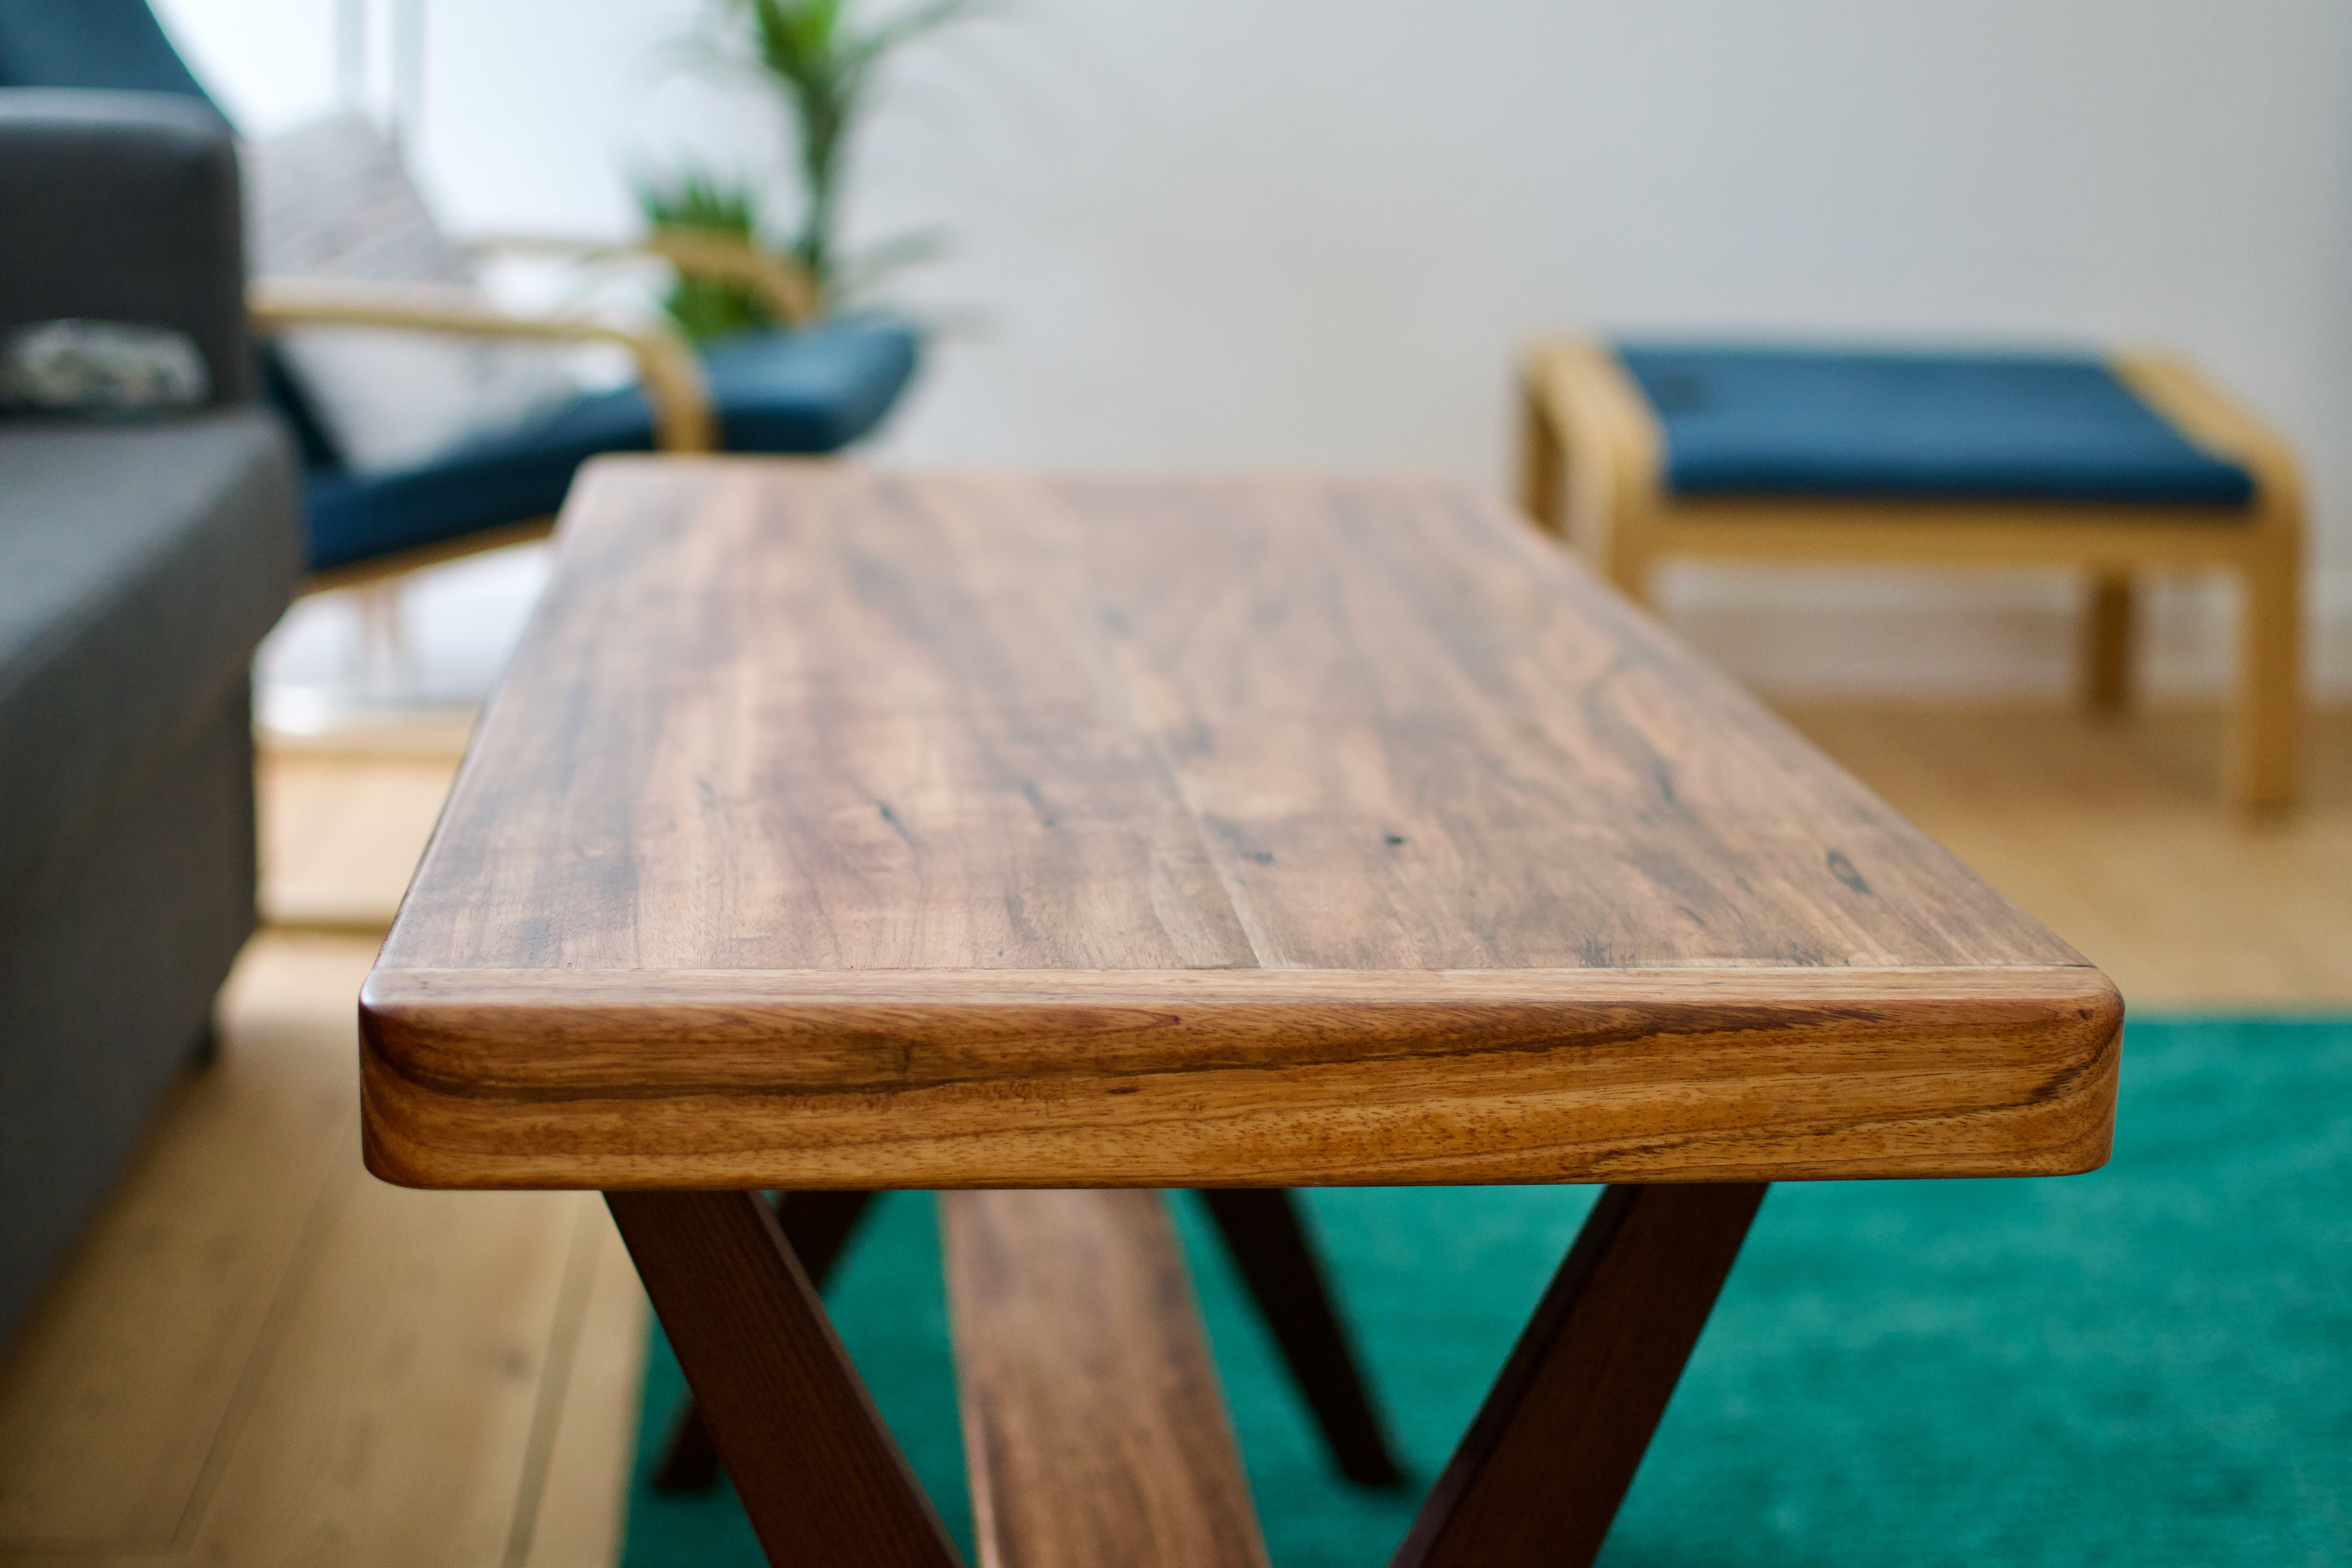
My goal was to build one with specifications that fit my apartment, and to build a gorgeous table top that exhibits natural wood grain and smoothly finished at the same time. I'm not a big fan of live edge table tops.
Legs
I wanted a dark wood for the legs so that the straight lines are prominent. I chose thermo oak.
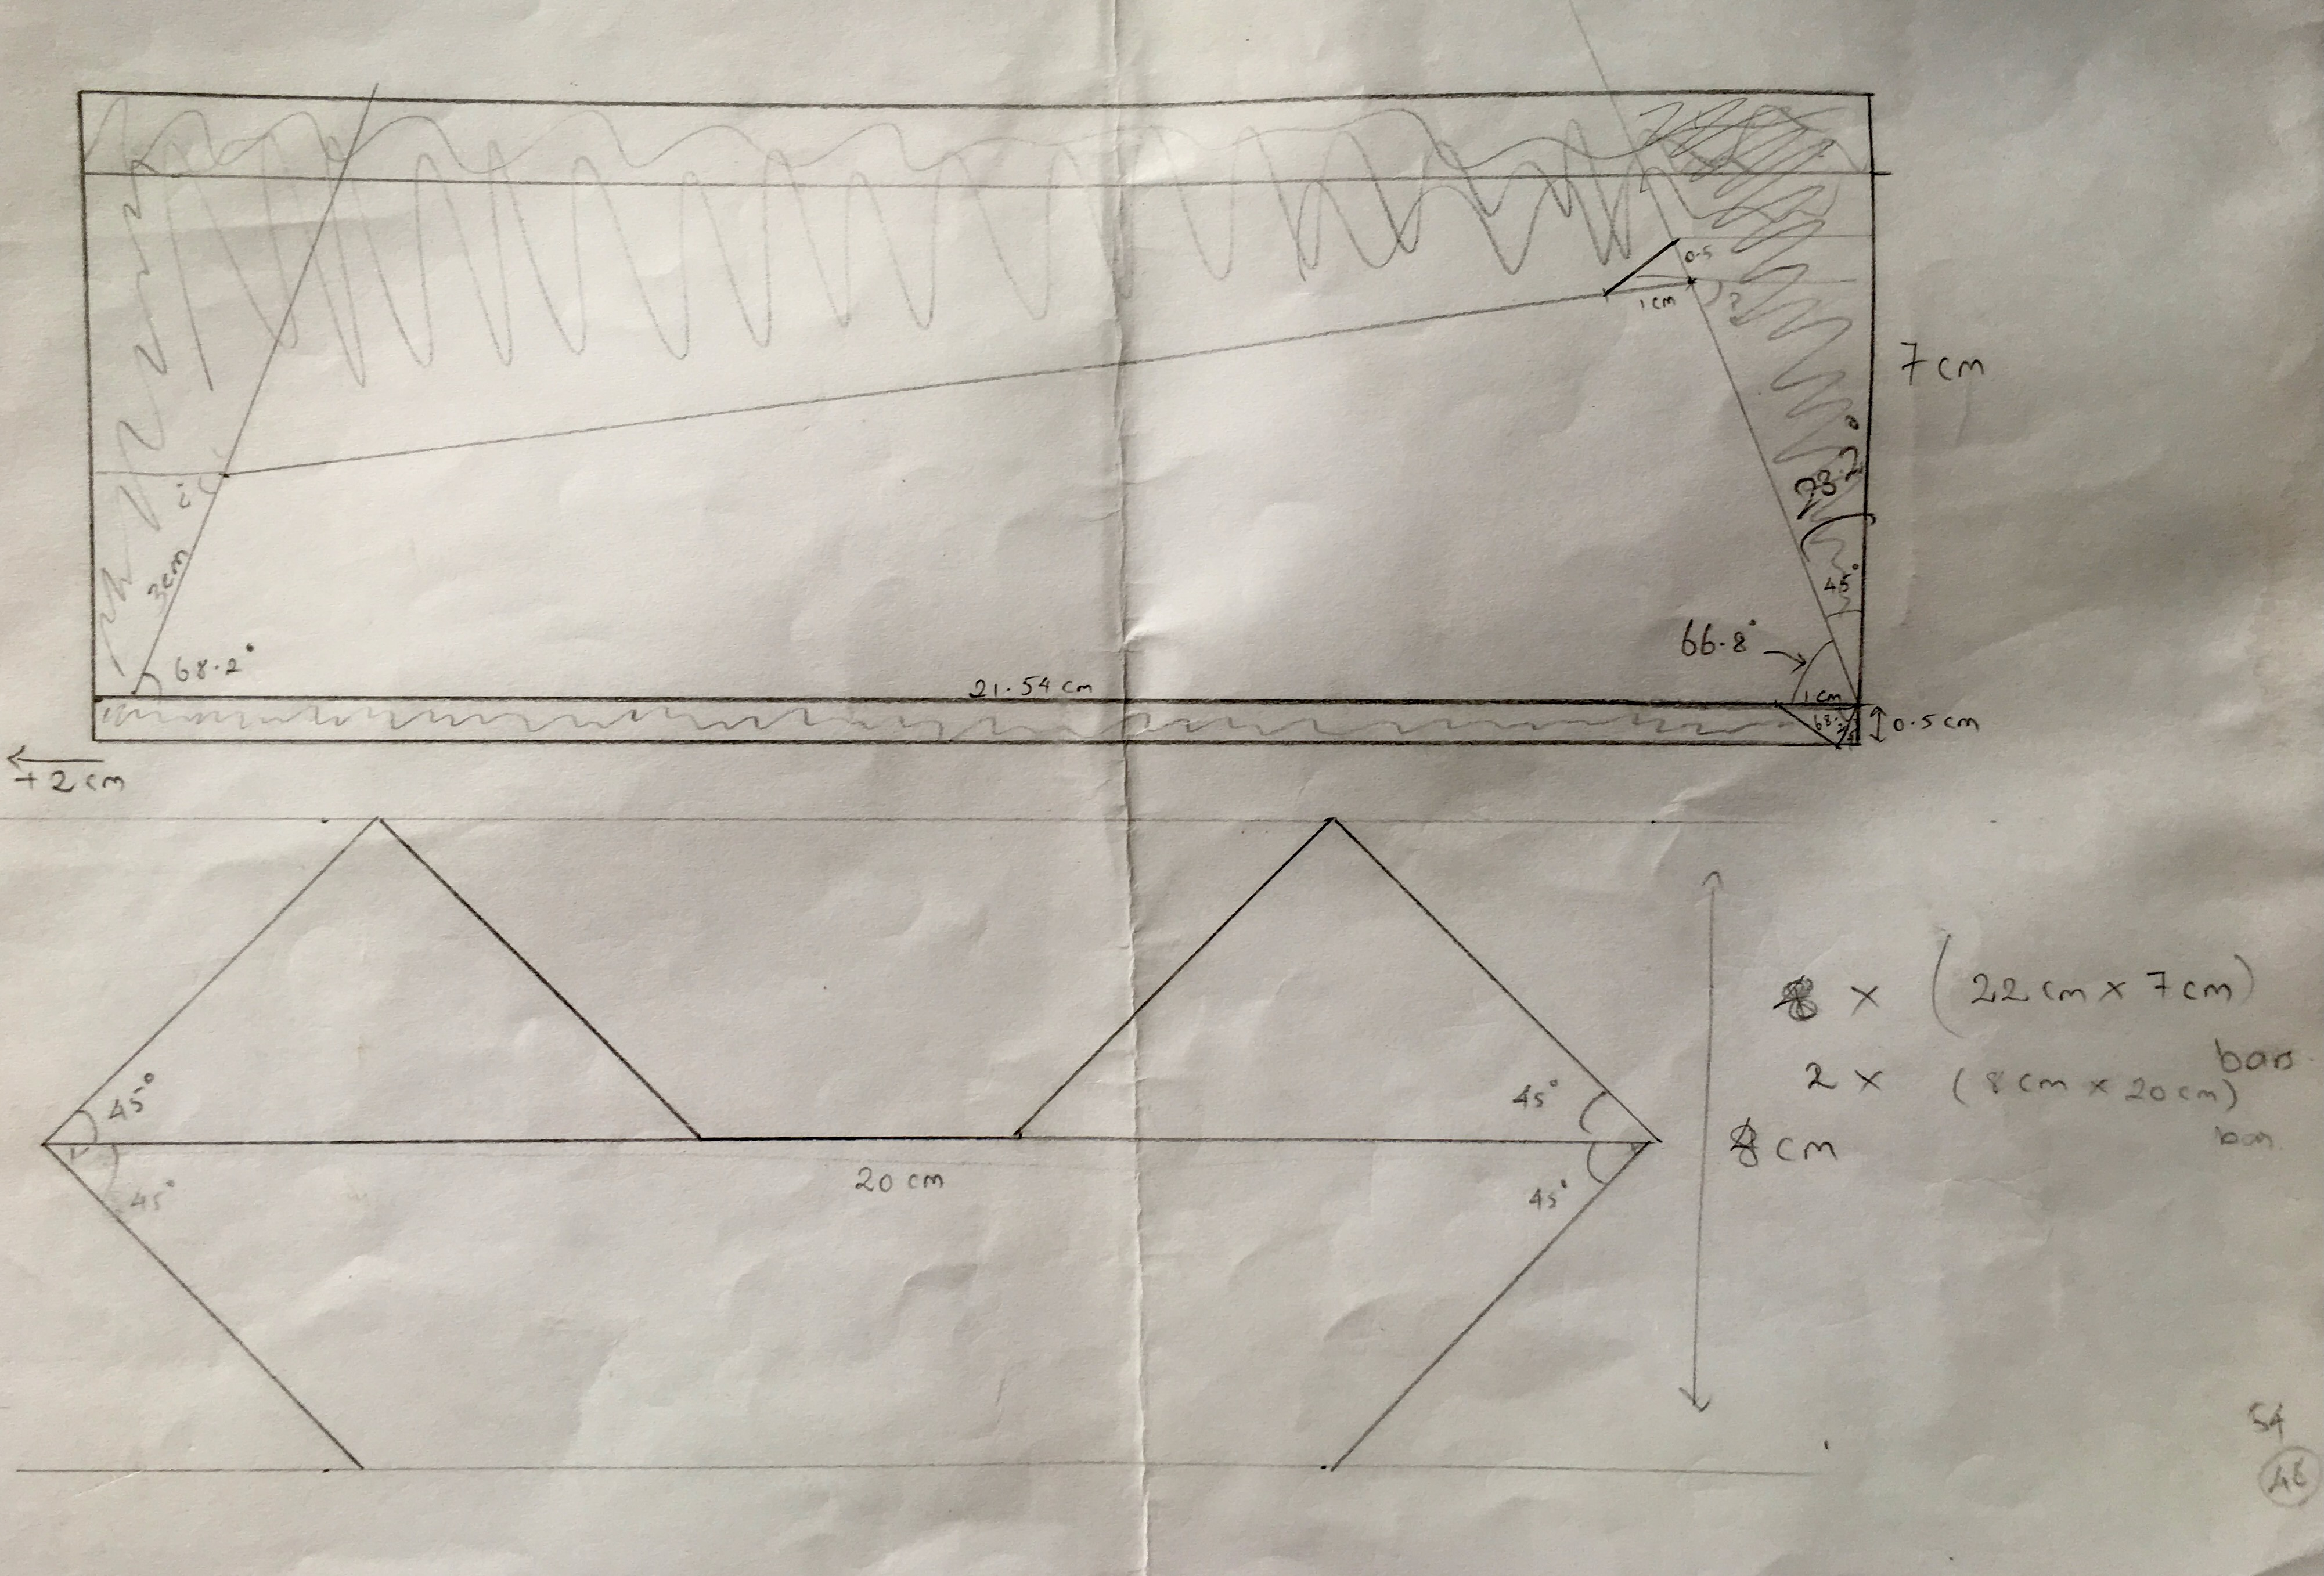
Each leg is composed of 4 identical long grain leg cutout and a center piece that attaches all four limbs. I took my time and drew templates at scale on a A4 paper - because I could :-) Plus, it was fun calculating all the angles upfront, and holding up paper cutout of legs to see if that is what I wanted before even purchasing the lumber.
Once design was frozen, I was at the shop processing panels of thermo oak.
-
Jointing two faces
-
Planing the other faces
-
Cutting the panels to approximate size rectangles using the table saw
-
cutting 45 degree angles on all four sides of the center piece
-
cutting 66.8 degree and 68.2 degree angles on each of the arms
-
finally removing extra material on the sliding slopes of the legs. I decided to do it free style because it would be on the inner side of the table legs, and it is a good human touch to the work.
With that 8 limbs and two center pieces are ready. Next up joinery.
I decided to use Festool dominos for this project because I had them available in the workshop I was at. Crafting beautiful mortise and tenons are reserved for another project. Festool dominoes were a breeze to work with and they did a good enough job of holding the pieces in place. They are plenty strong in this context. I added plenty of glue to these end grain joints anyway.
Next up, rounding over the edges with a router. Nothing fancy here - I just rounded off the edges of all the limbs at the router table using a round over bit. I stopped the router contact just based on eye levels to leave the jons still sharp.
Once the two leg units were assembled, I started with the table top.
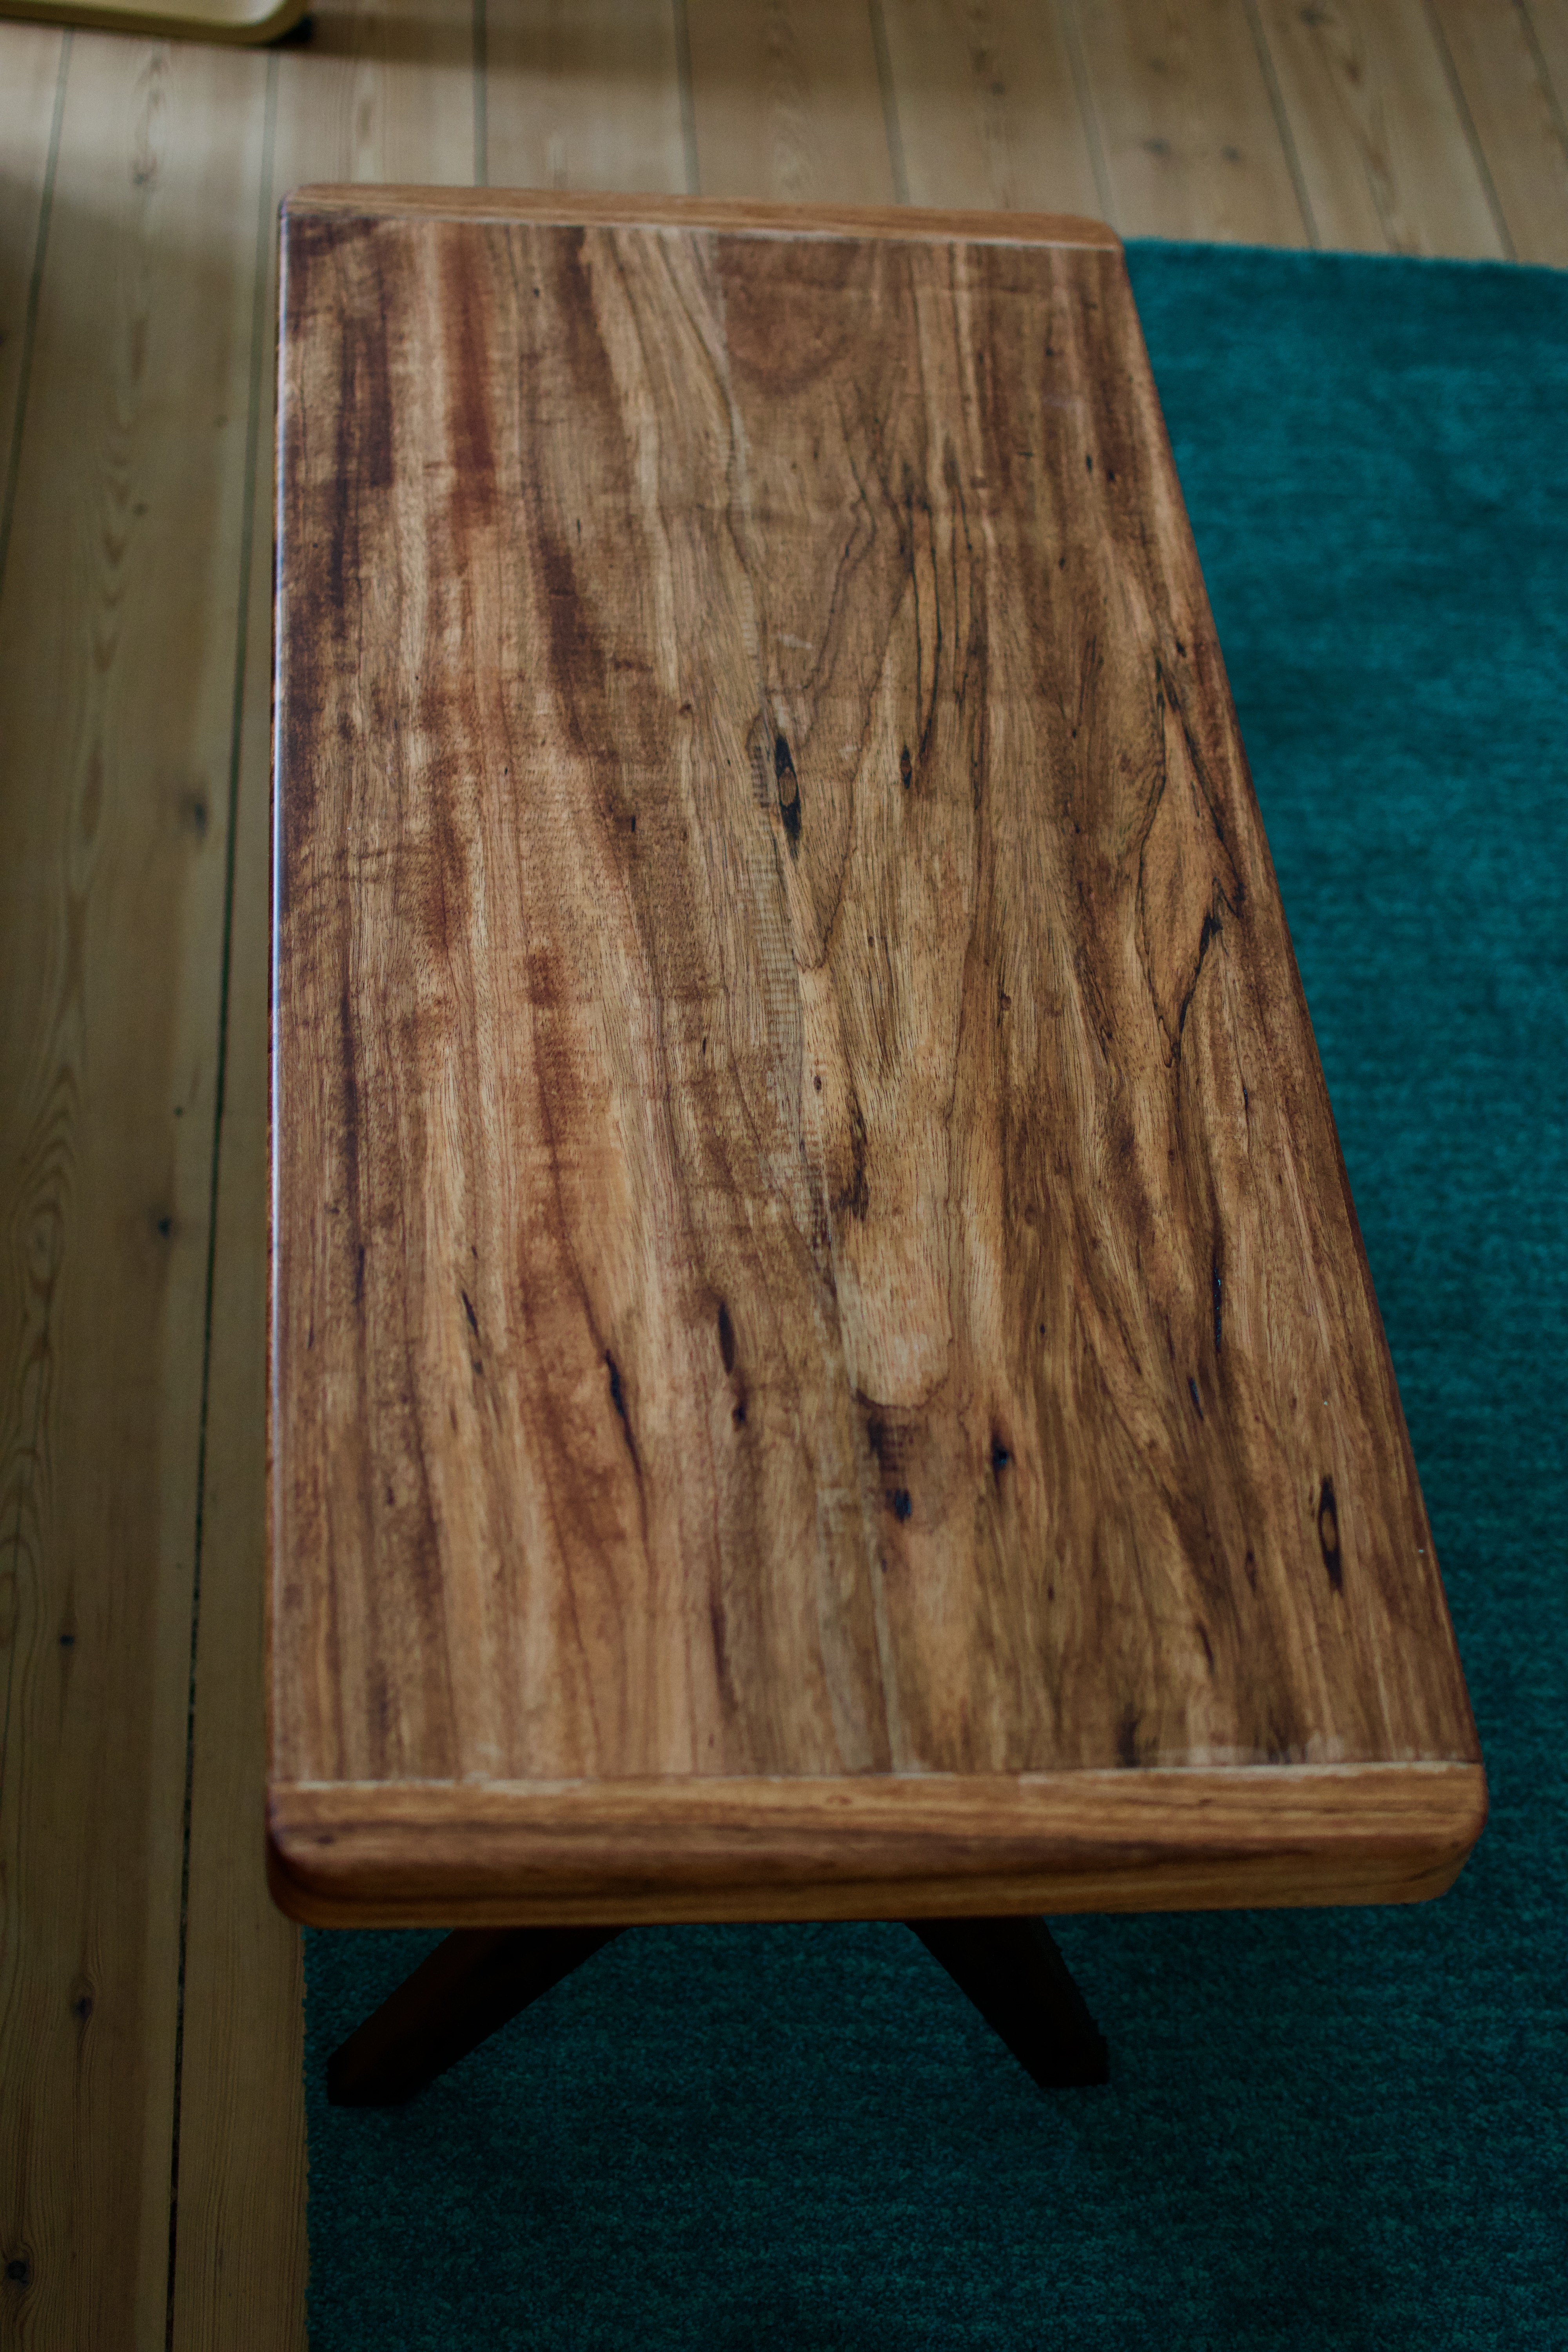
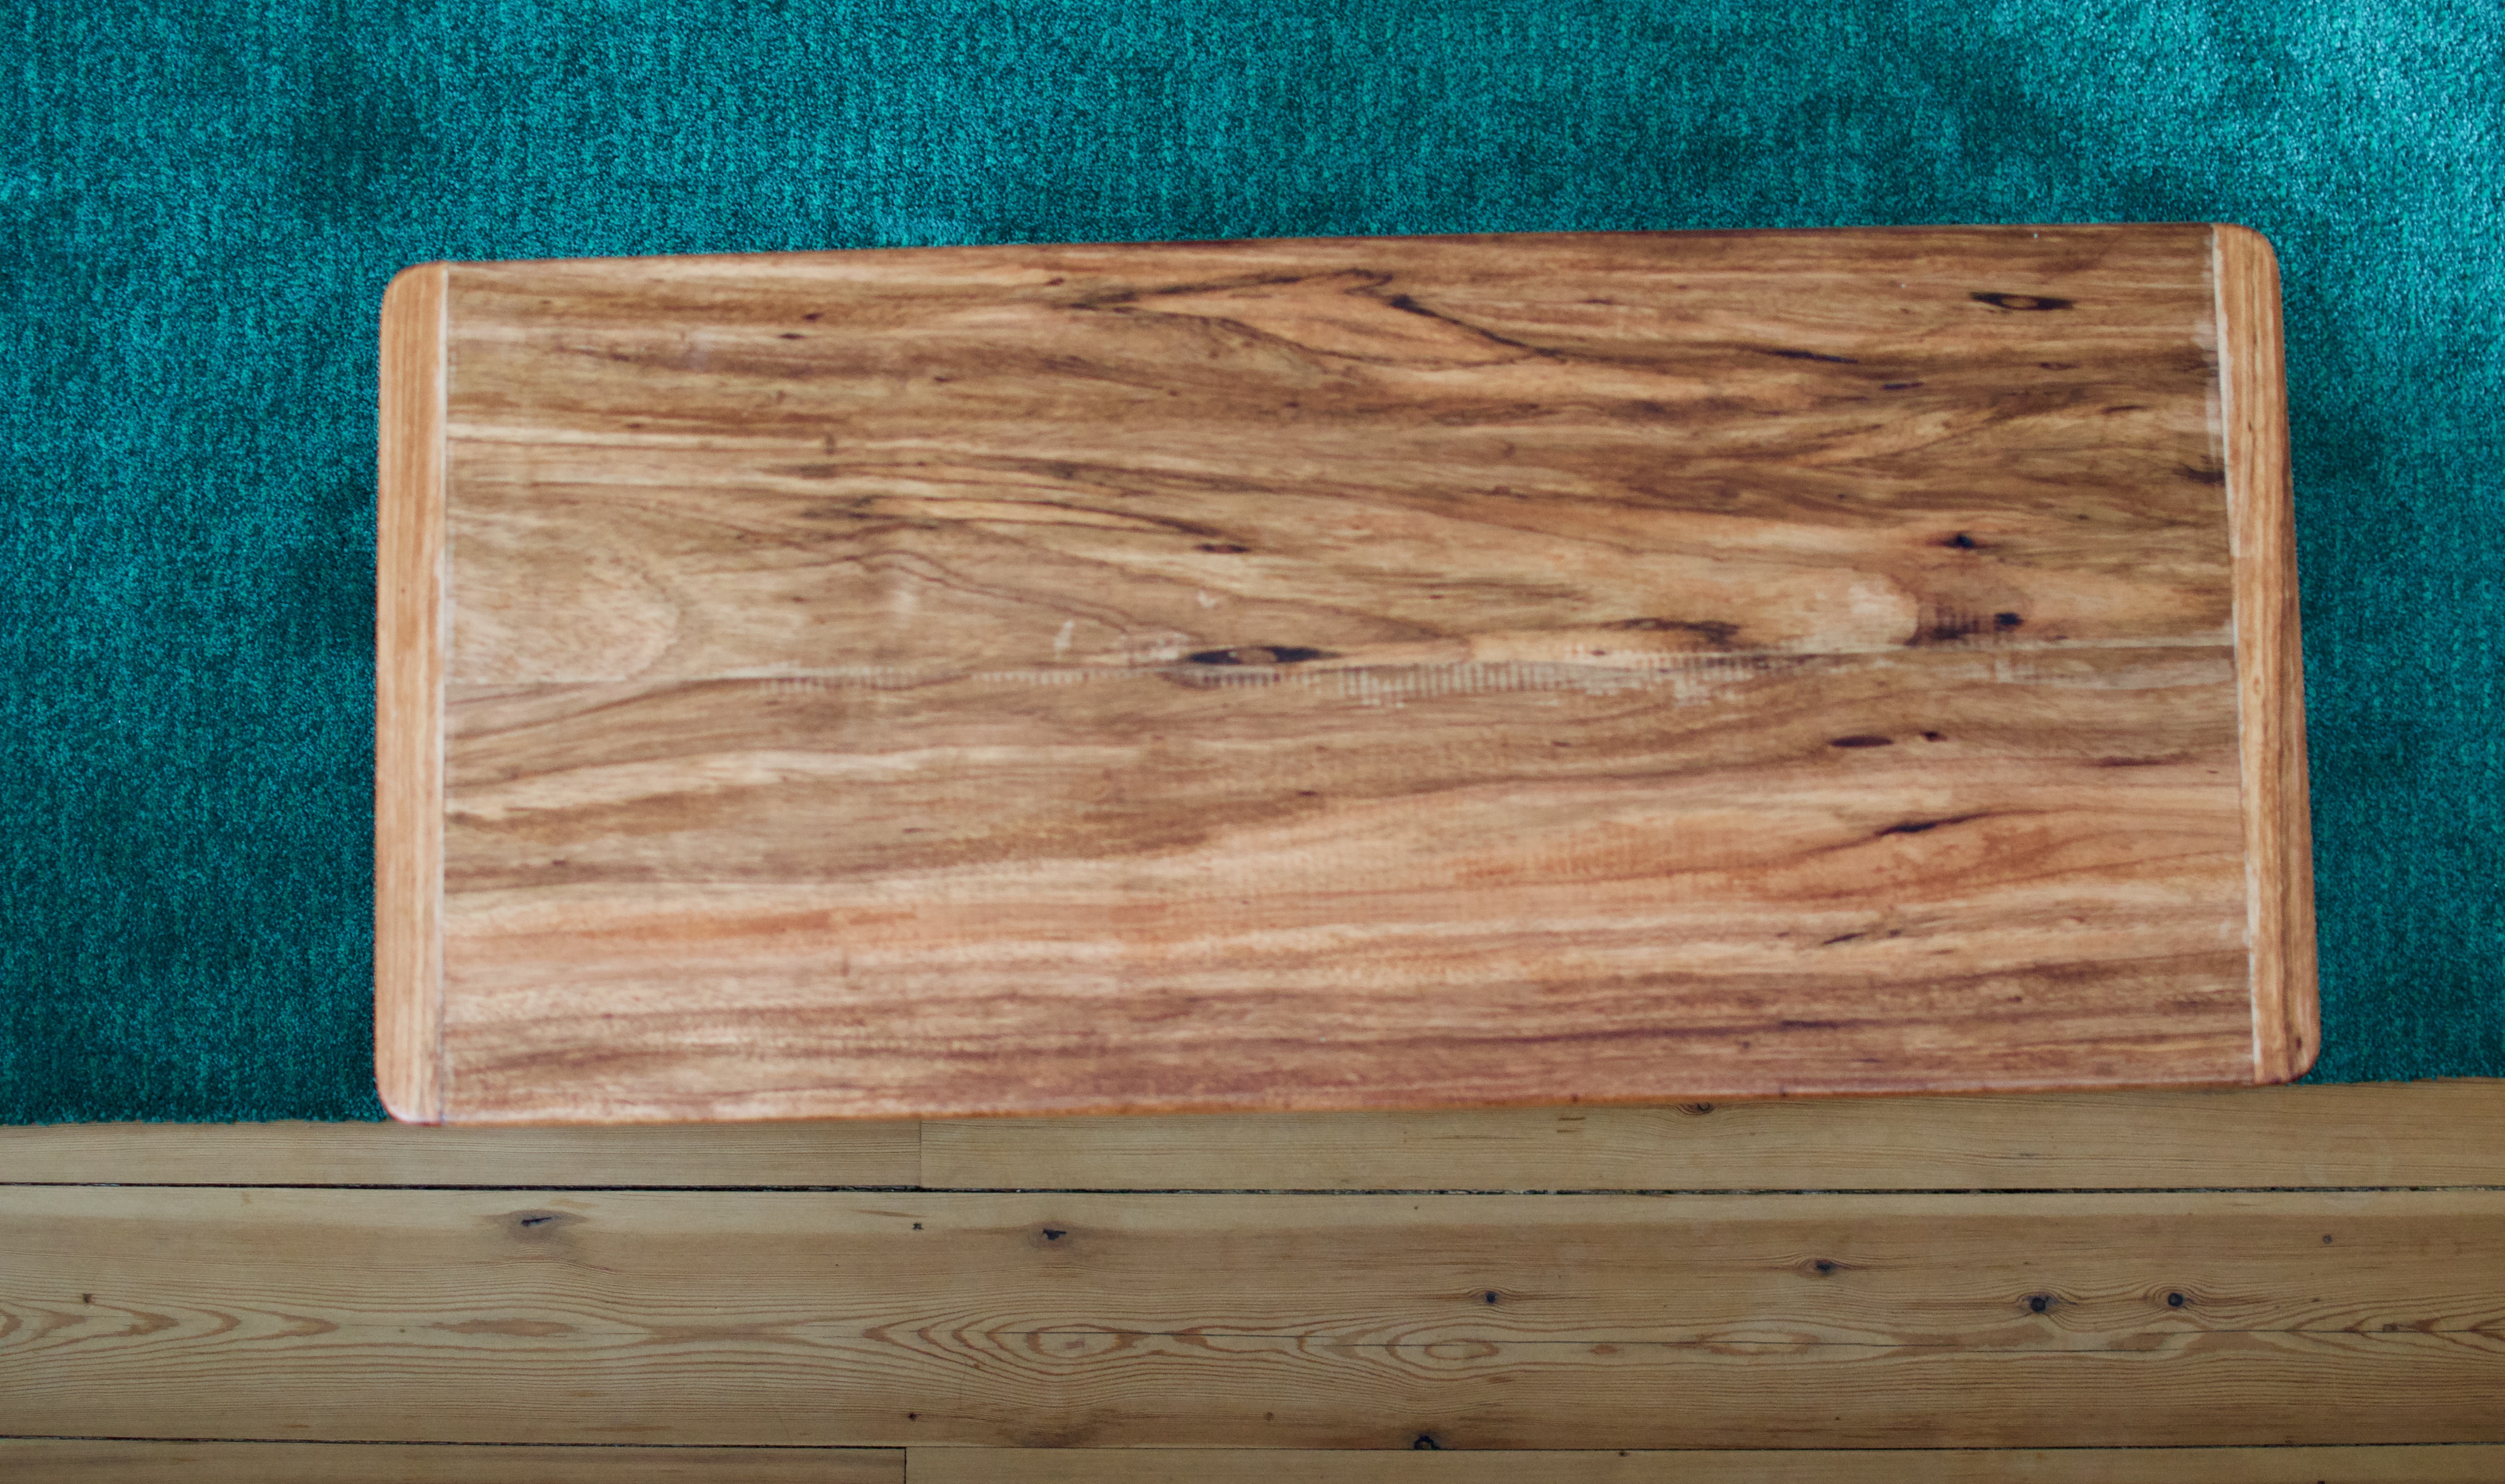
Table top
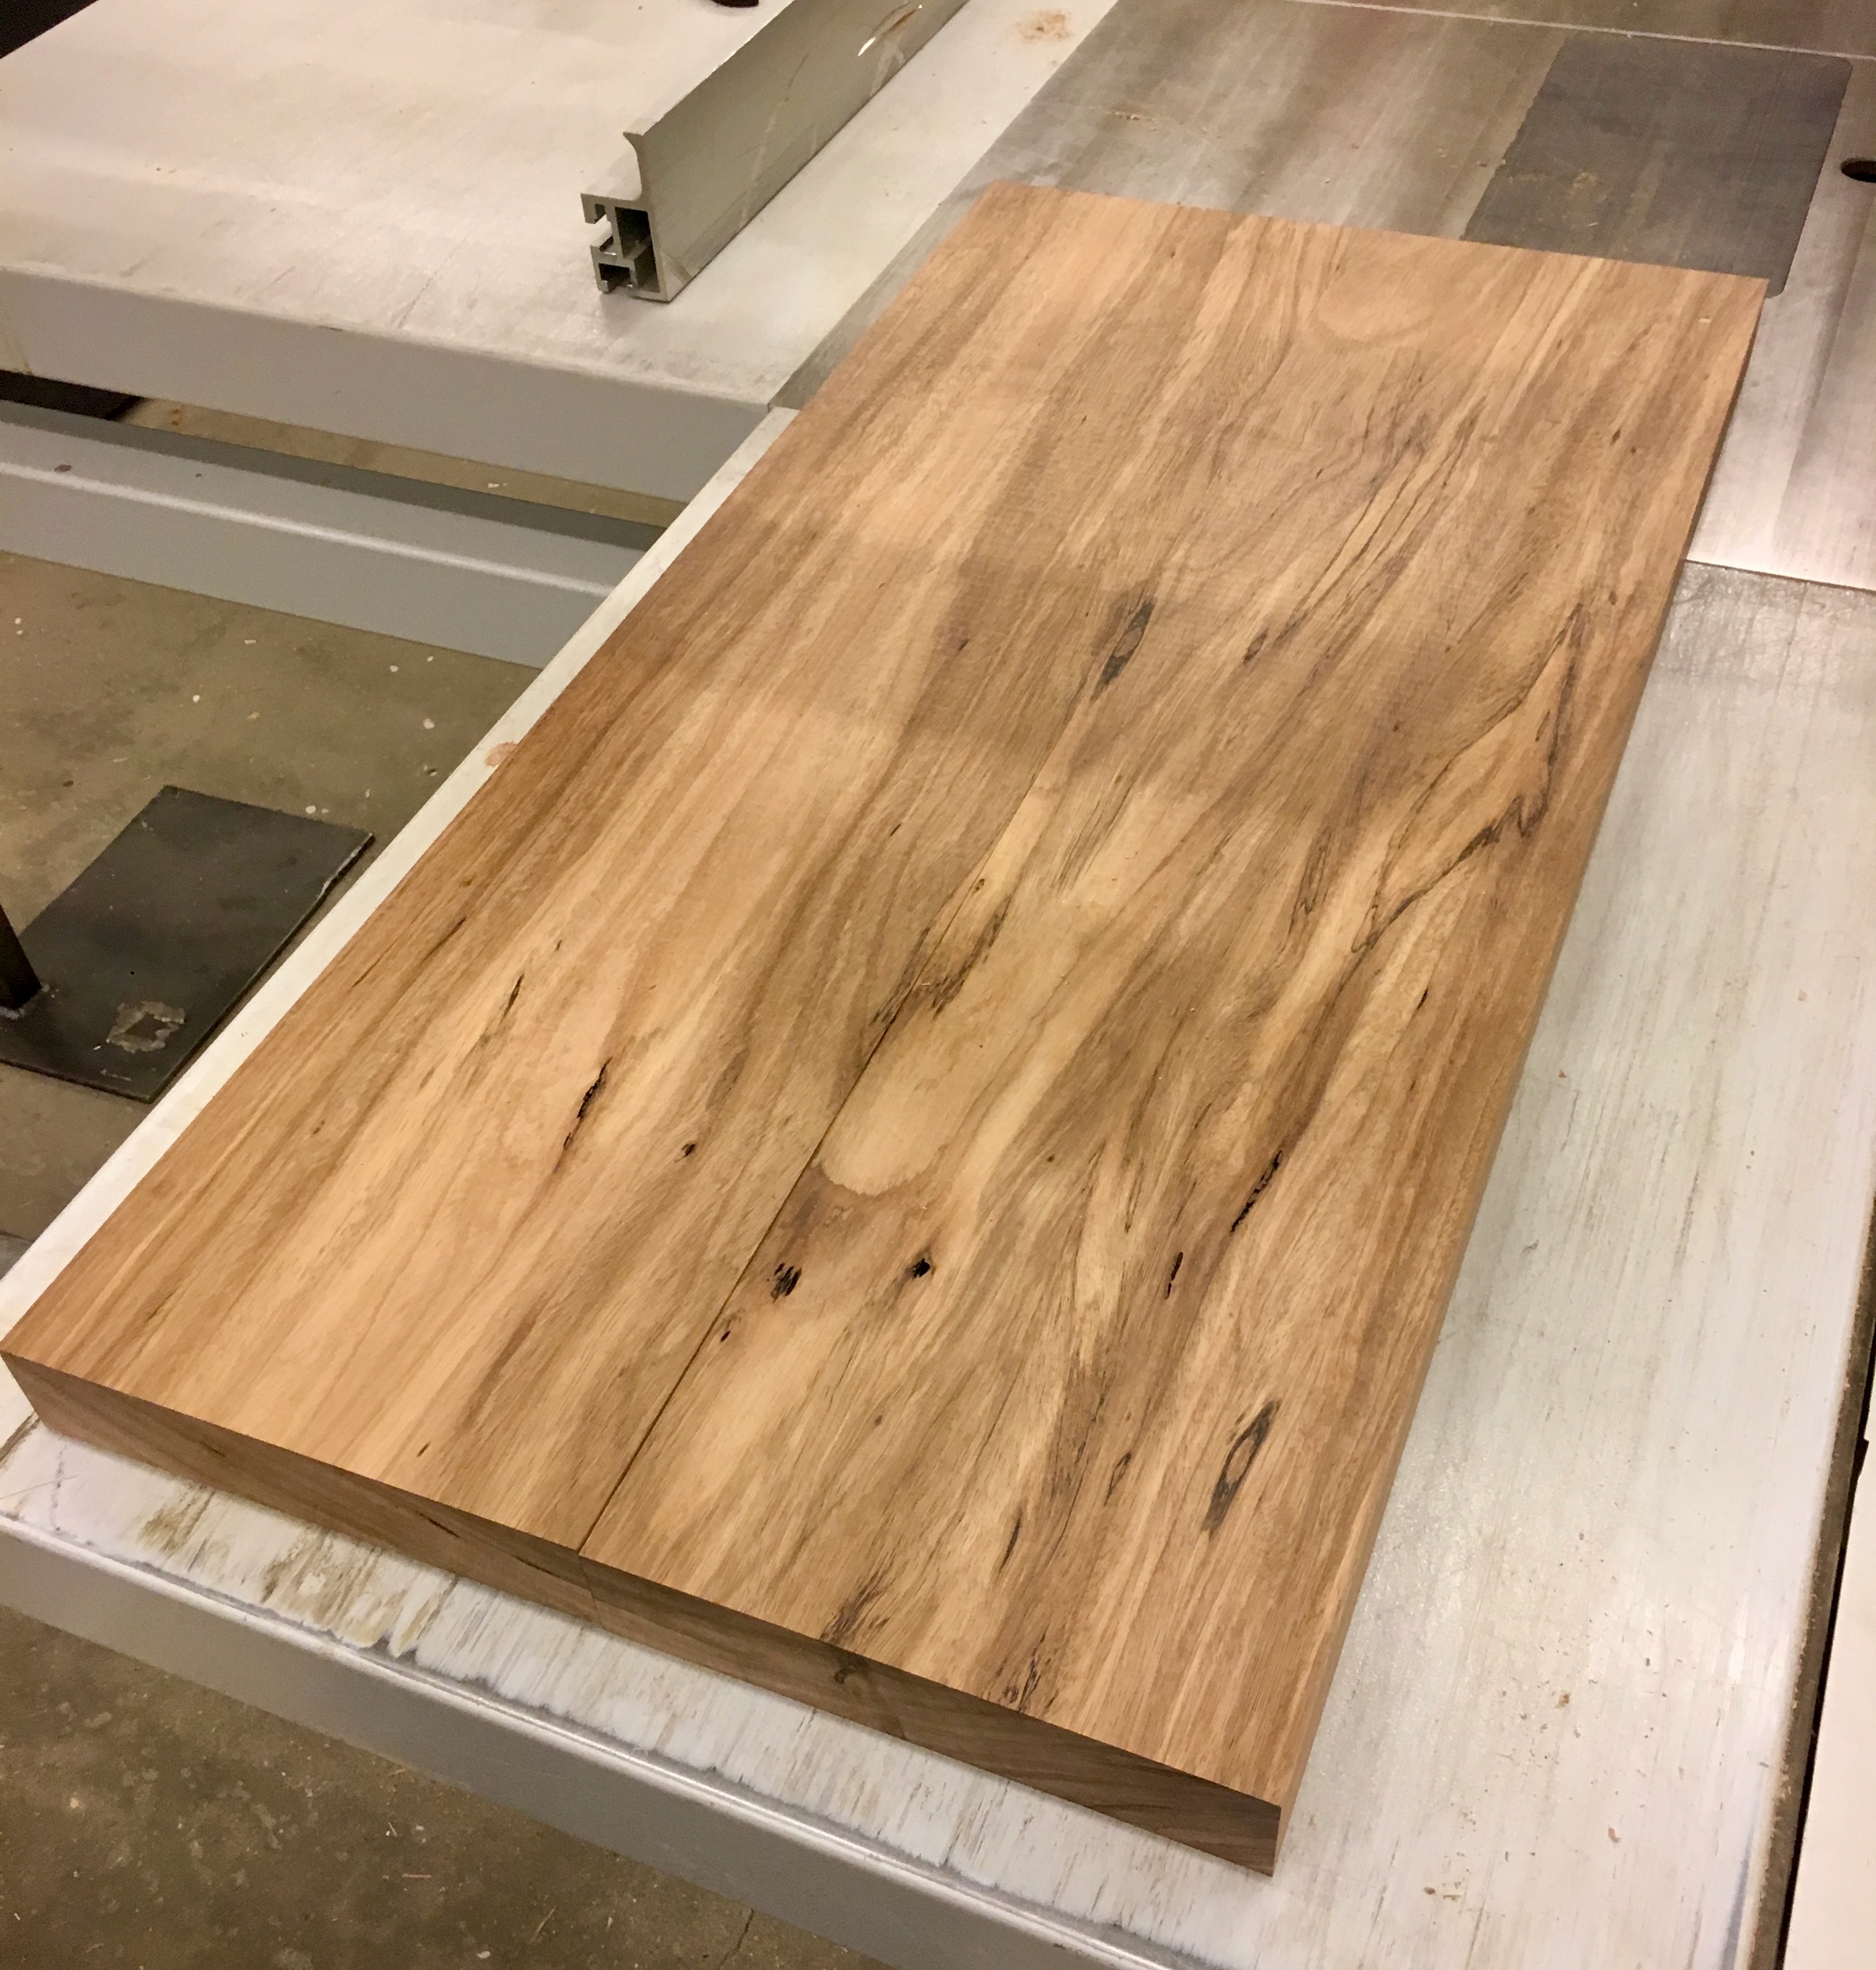
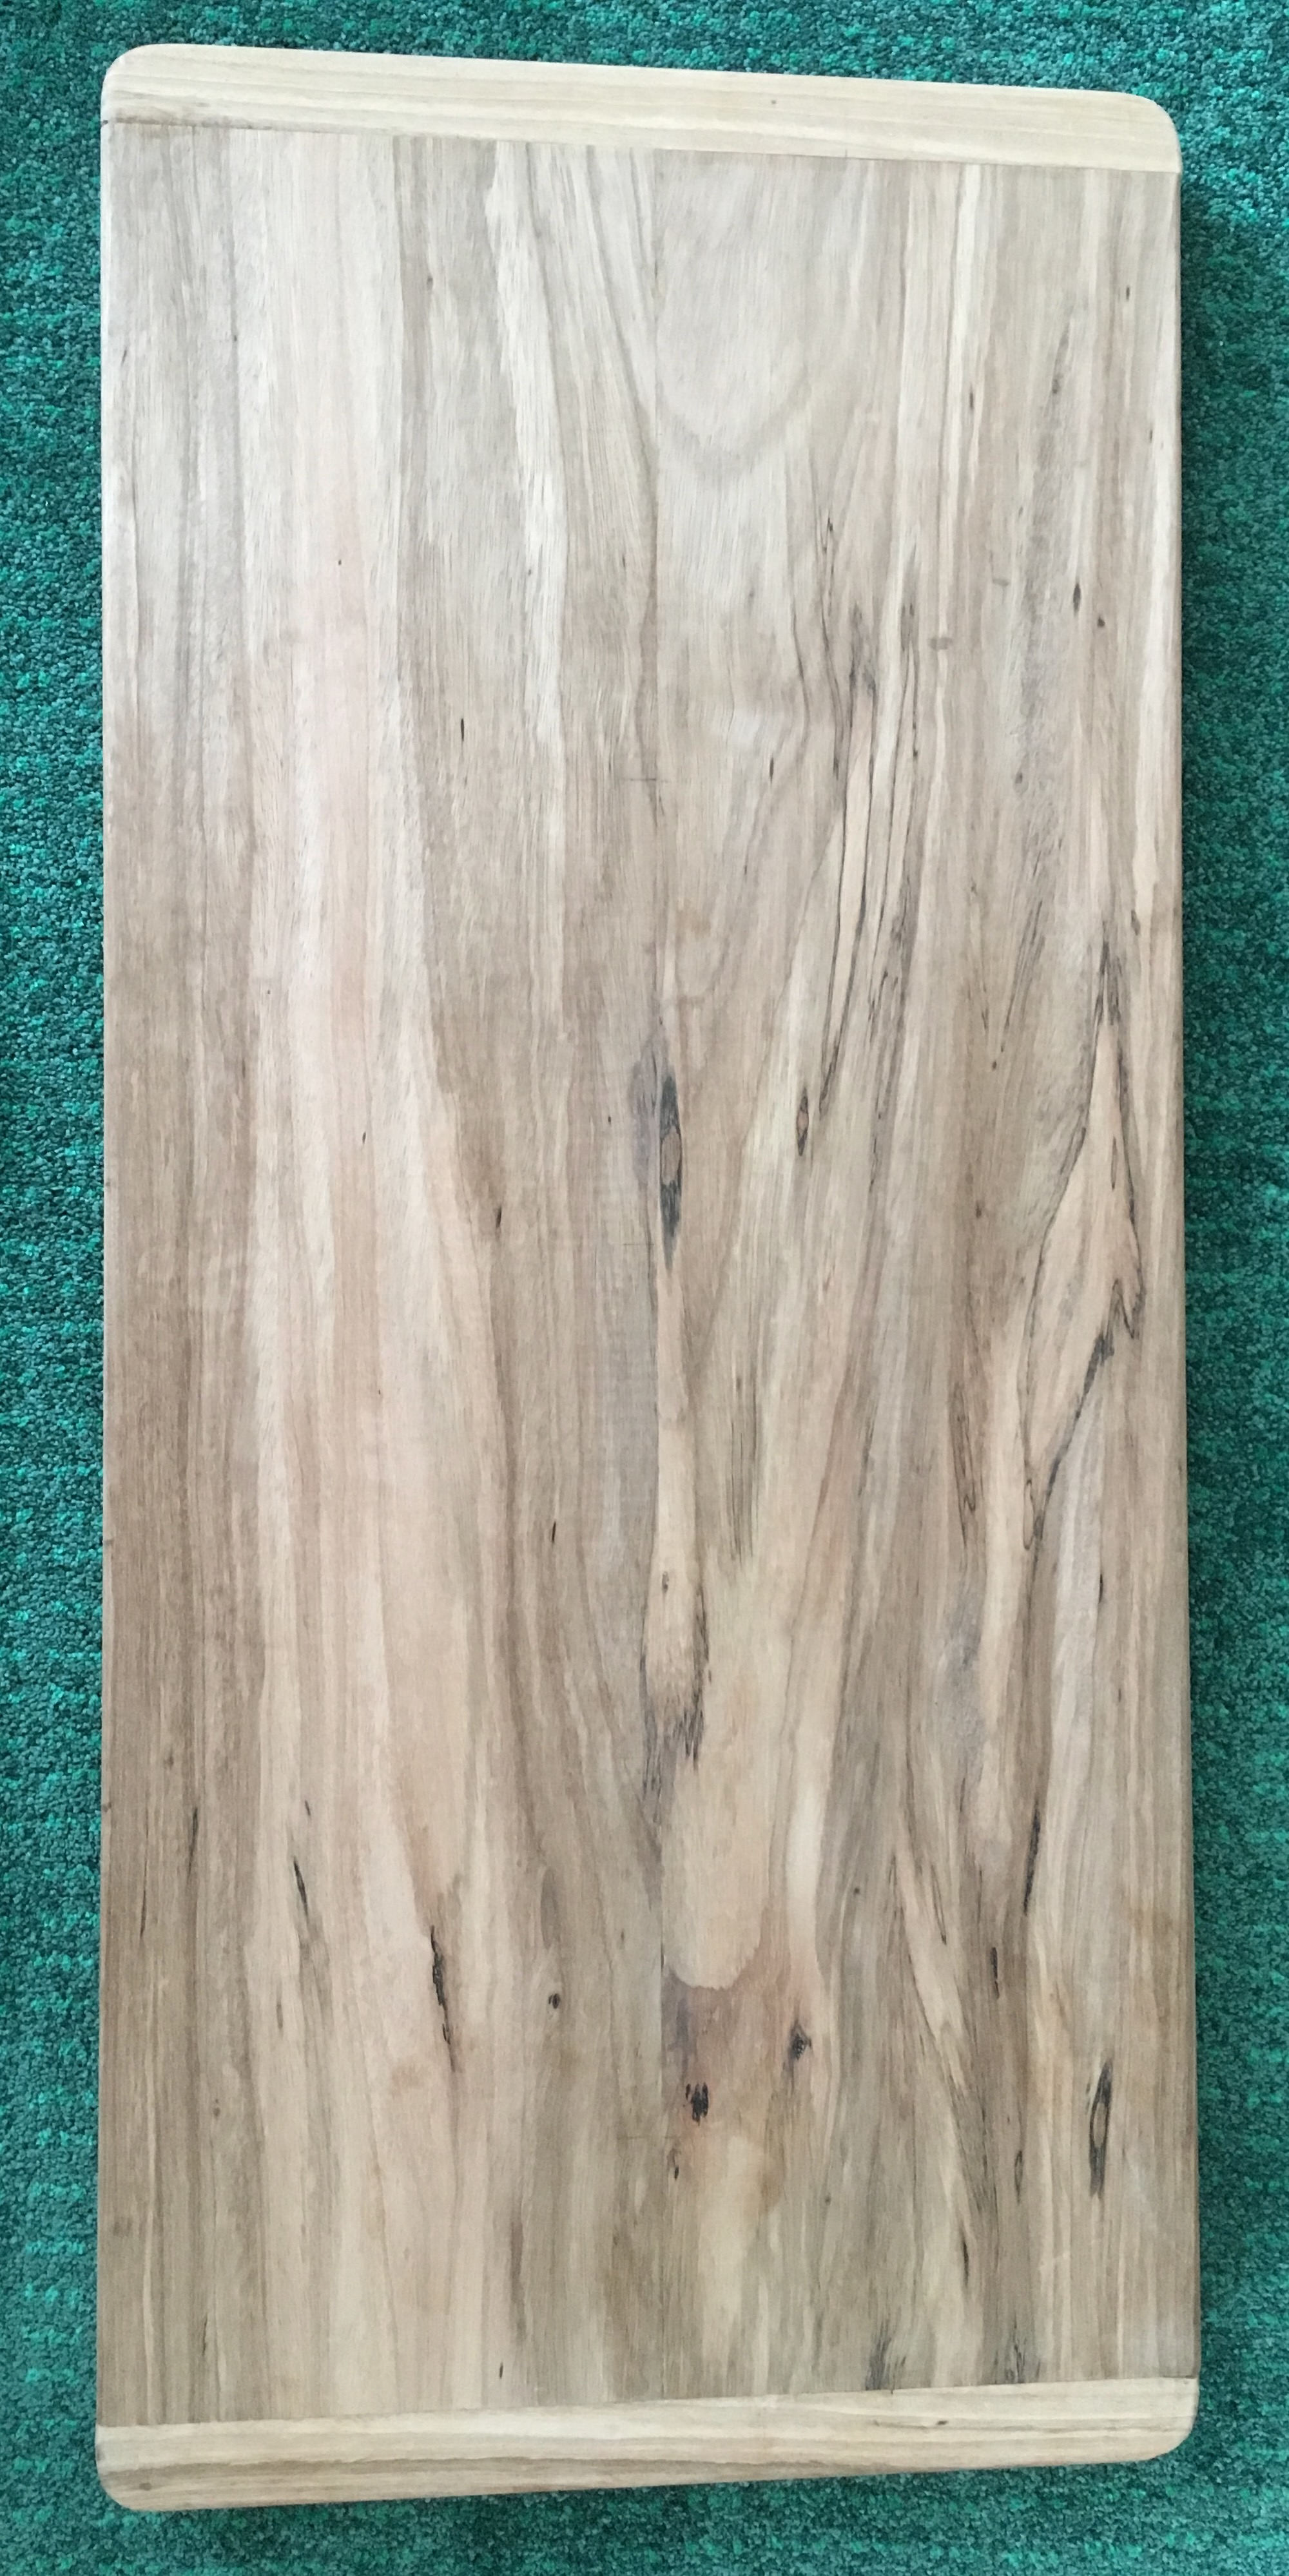
The table top is the most used and visible surface of this furniture. I wanted a no compromise, gorgeous piece of lumber for this top. After eyeing many options of lumber, I found this beautiful piece of lumber on the rack for sale. I asked around for what variety it was and was given vague speculative answers that did not convince me enough. However, the grain pattern looked beautiful, and I decided upon it without knowing what wood it was.
The nice people at Reddit eventually helped me to find out that it was black limba from western Africa. I was lucked into finding it.
chop chop - next step = milling it into the size I needed. Jointing, planing, cutting to dimensions - same routine.
I decided to cut the panel into two pieces to be able to mill them into straight faces and then join them using Festool dominos. Pro tip: Mark the surfaces with a pencil so that the grain patterns match and prevent you from glueing unmatching grain surfaces.
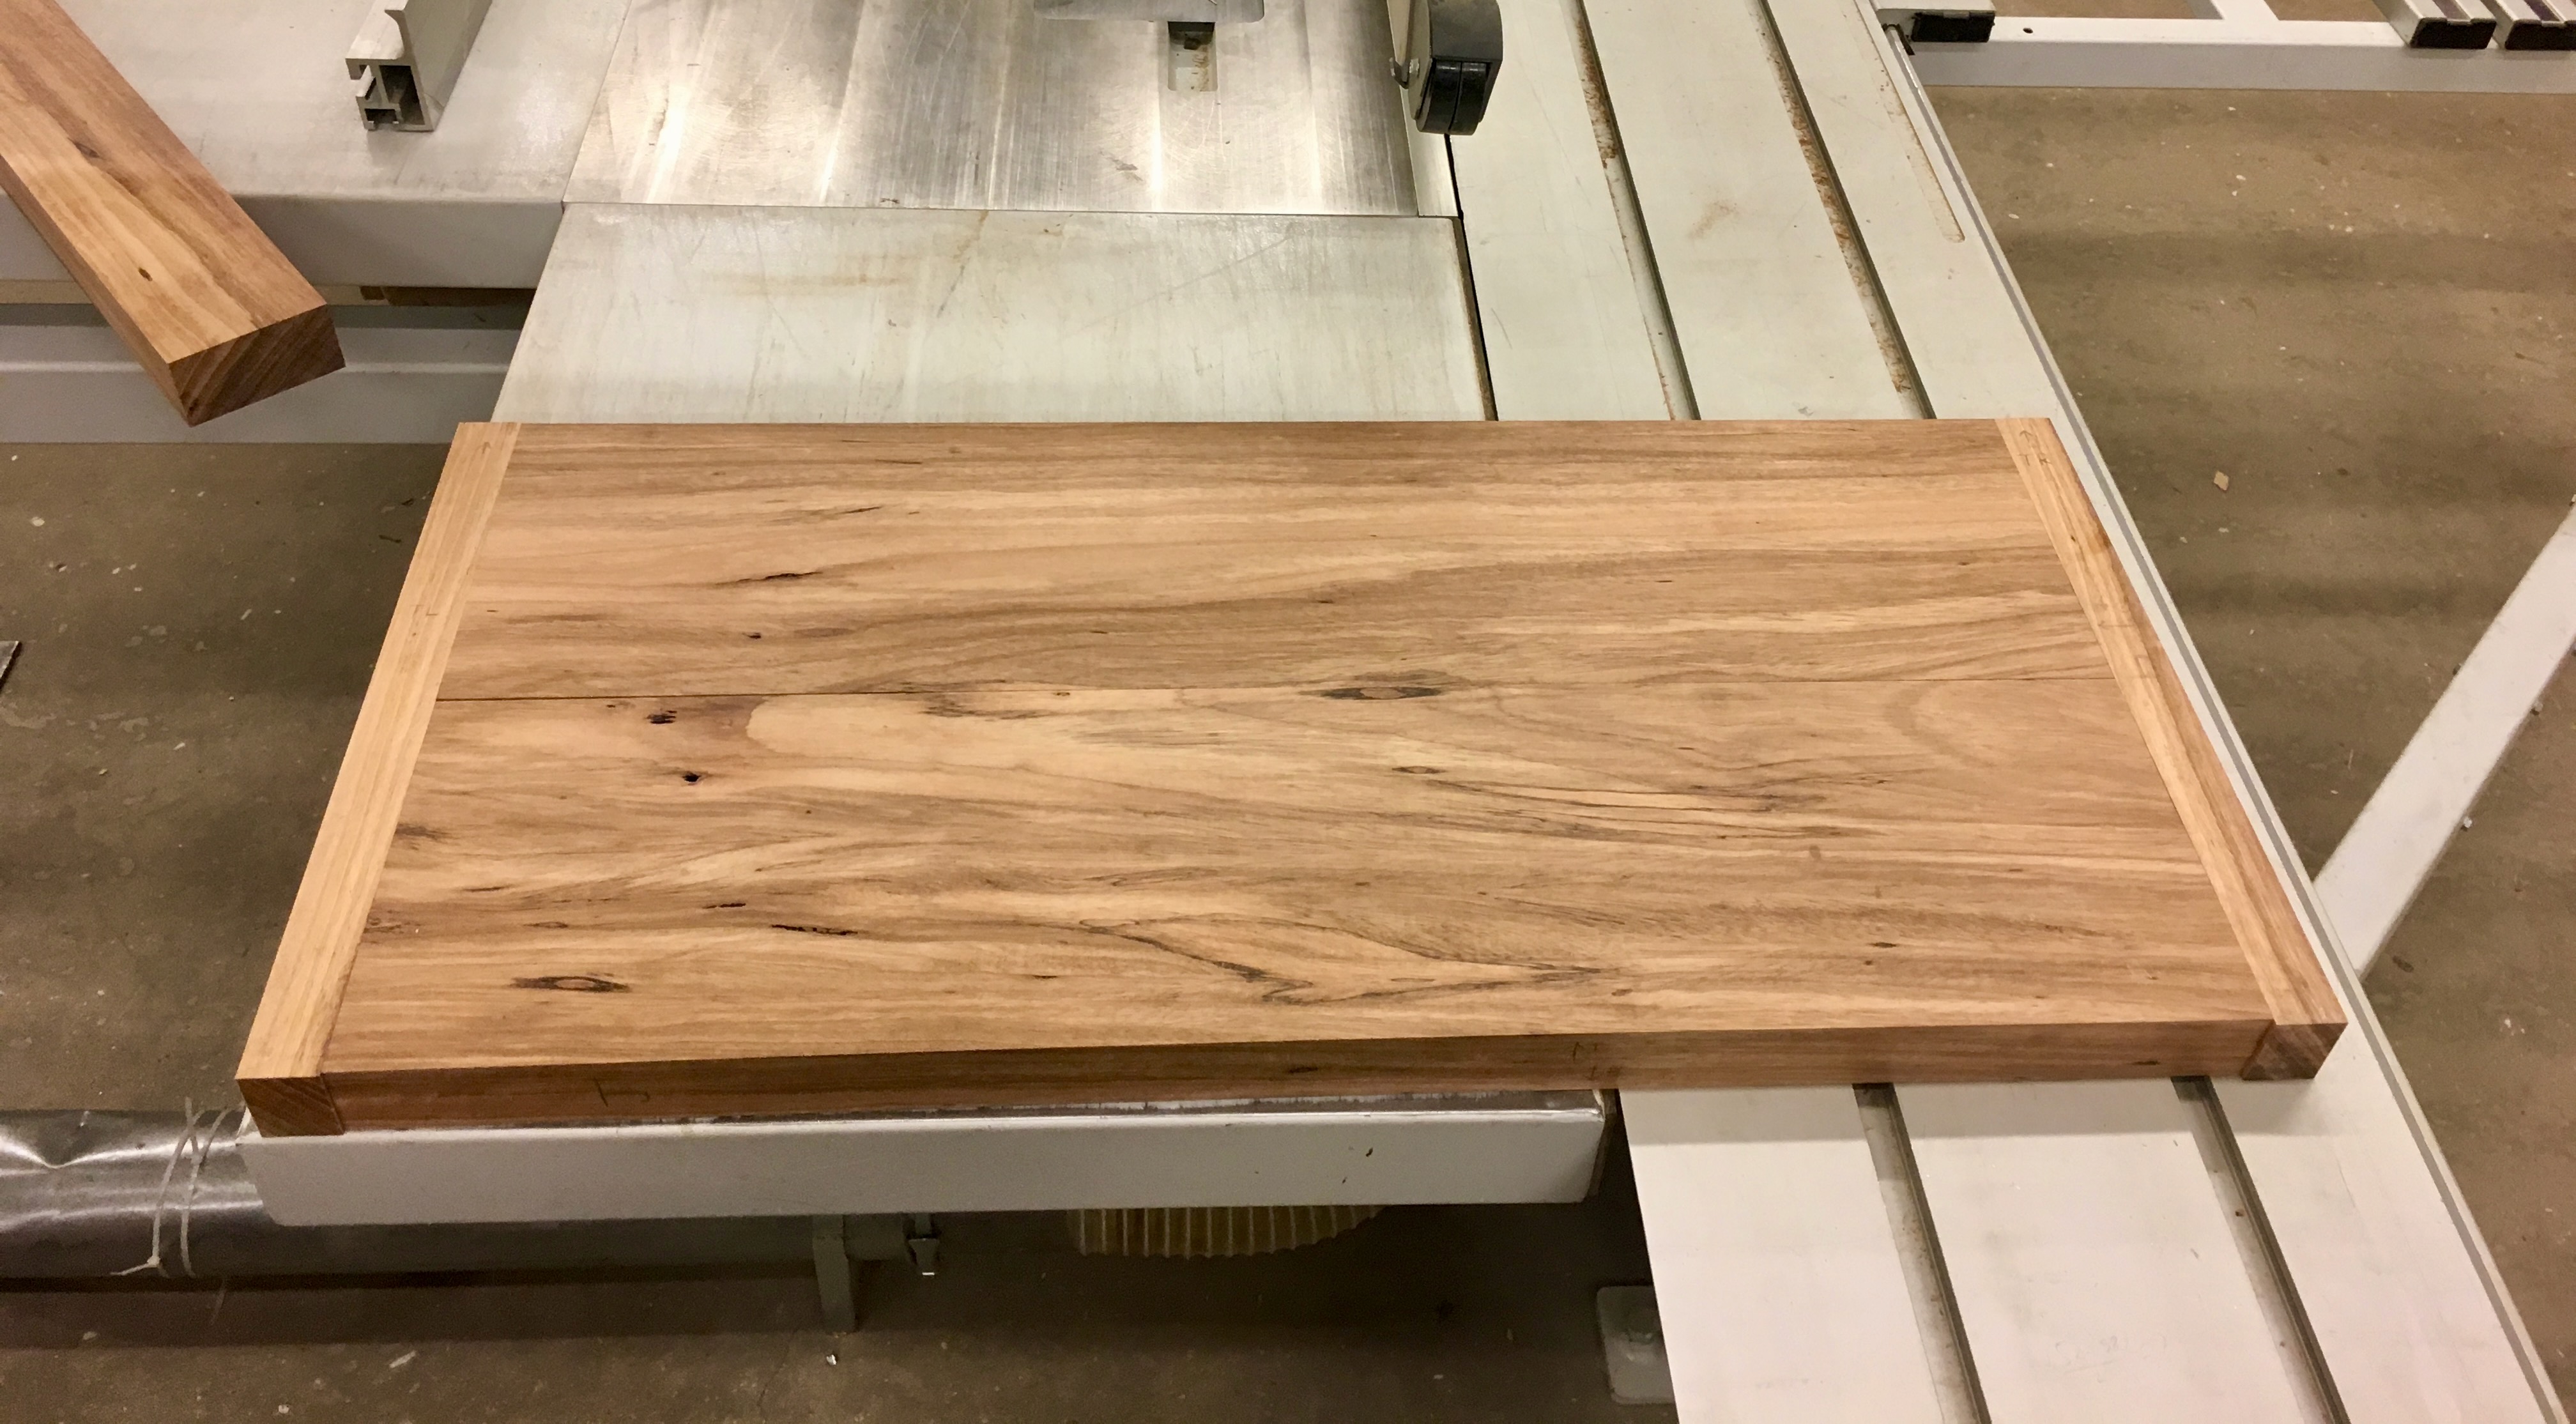
Added a long grain edge on each side perpendicular to the grain of the wood so as to not expose the end grain of the table top. Hopefully, it helps the table top to not absorb a lot of moisture and prevent expansion and contraction as much as possible.
I proceeded to add a curve to the two perpendicular pieces so as to blunt the edges of the table top.
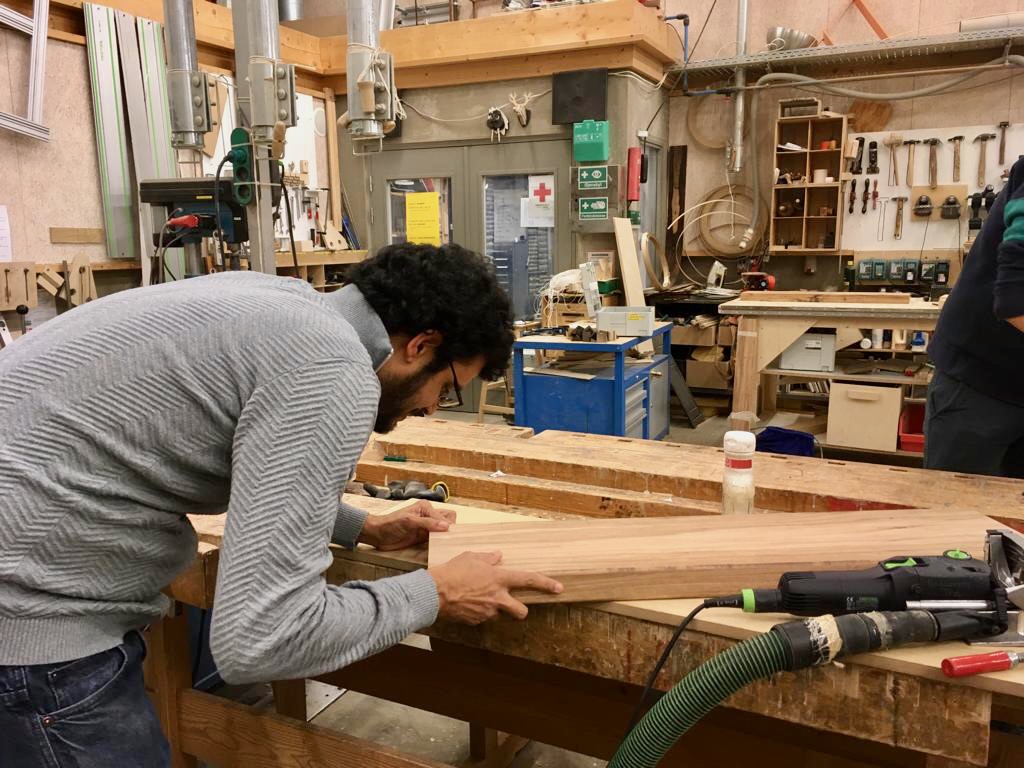
Joining time! Festool domino machine in the picture, some careful pencil marks, and let the machine do its thing.. Yes, that is me in the picture :-) Picture coutesy: my wife.
Finishing
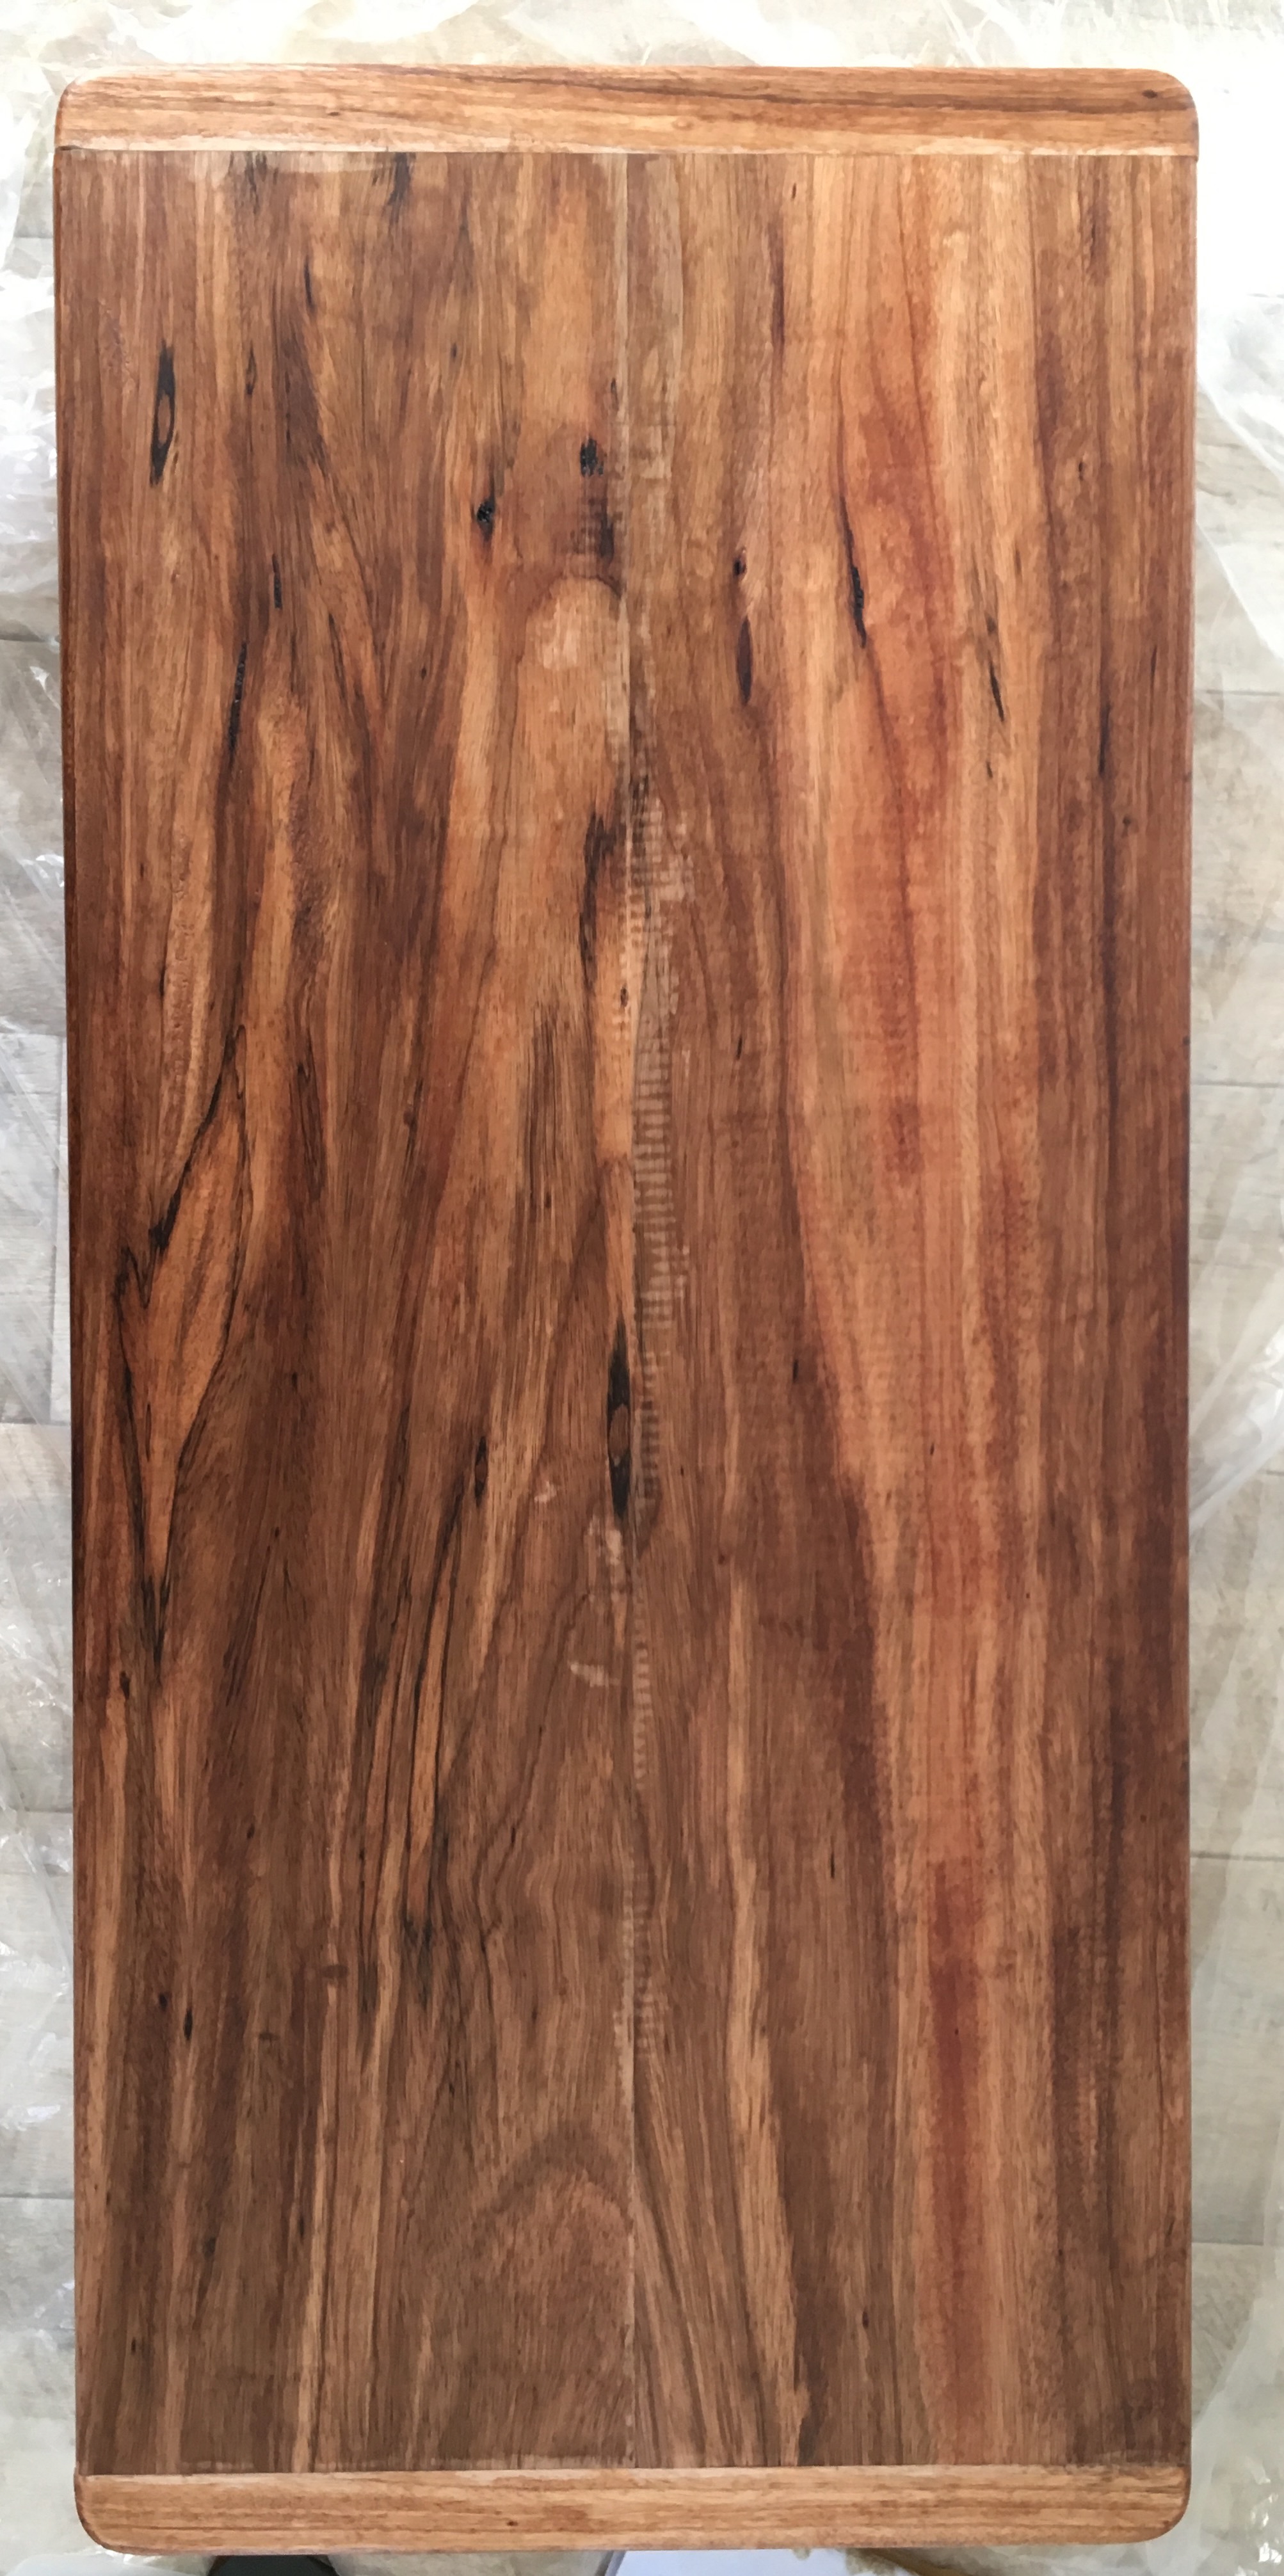
I'm not big on Polyeurethane finishes as they tend to feel like "plastic layer on wood" to me. I chose to stick to Danish oil - several coats of it.
-
Sanding with 80 grits sandpaper
-
Sanding with 140 grits sandpaper
-
Cleaning the surface with a brush coat of mineral based terpentine. This step shows the glue marks and other missed spots clearly so that I can fix them before touching Danish oil.
-
After drying, a generous first coat of Danish oil using a brush. Keep applying for 20 minutes as long as the wood absorbs Danish oil.
-
After a couple of hours of drying, I used a 600 grit wet sandpaper soaked in Danish oil to gently sand the whole surface to smoothen the ridges that are formed after the first coat. This procedure helps obtain a great smooth finish for the table top surface.
-
Wipe off excess oil using a lint free cloth so that no brush marks or pools of oil are visbile after finish.
-
Leave it to dry in room temperature for about 2 days.
If you decide to do this oil finishing in your apartment, make sure that your wife/friend/partner is okay with it, because it stinks for a few days..― Wisdom
Same technique used for legs as well.
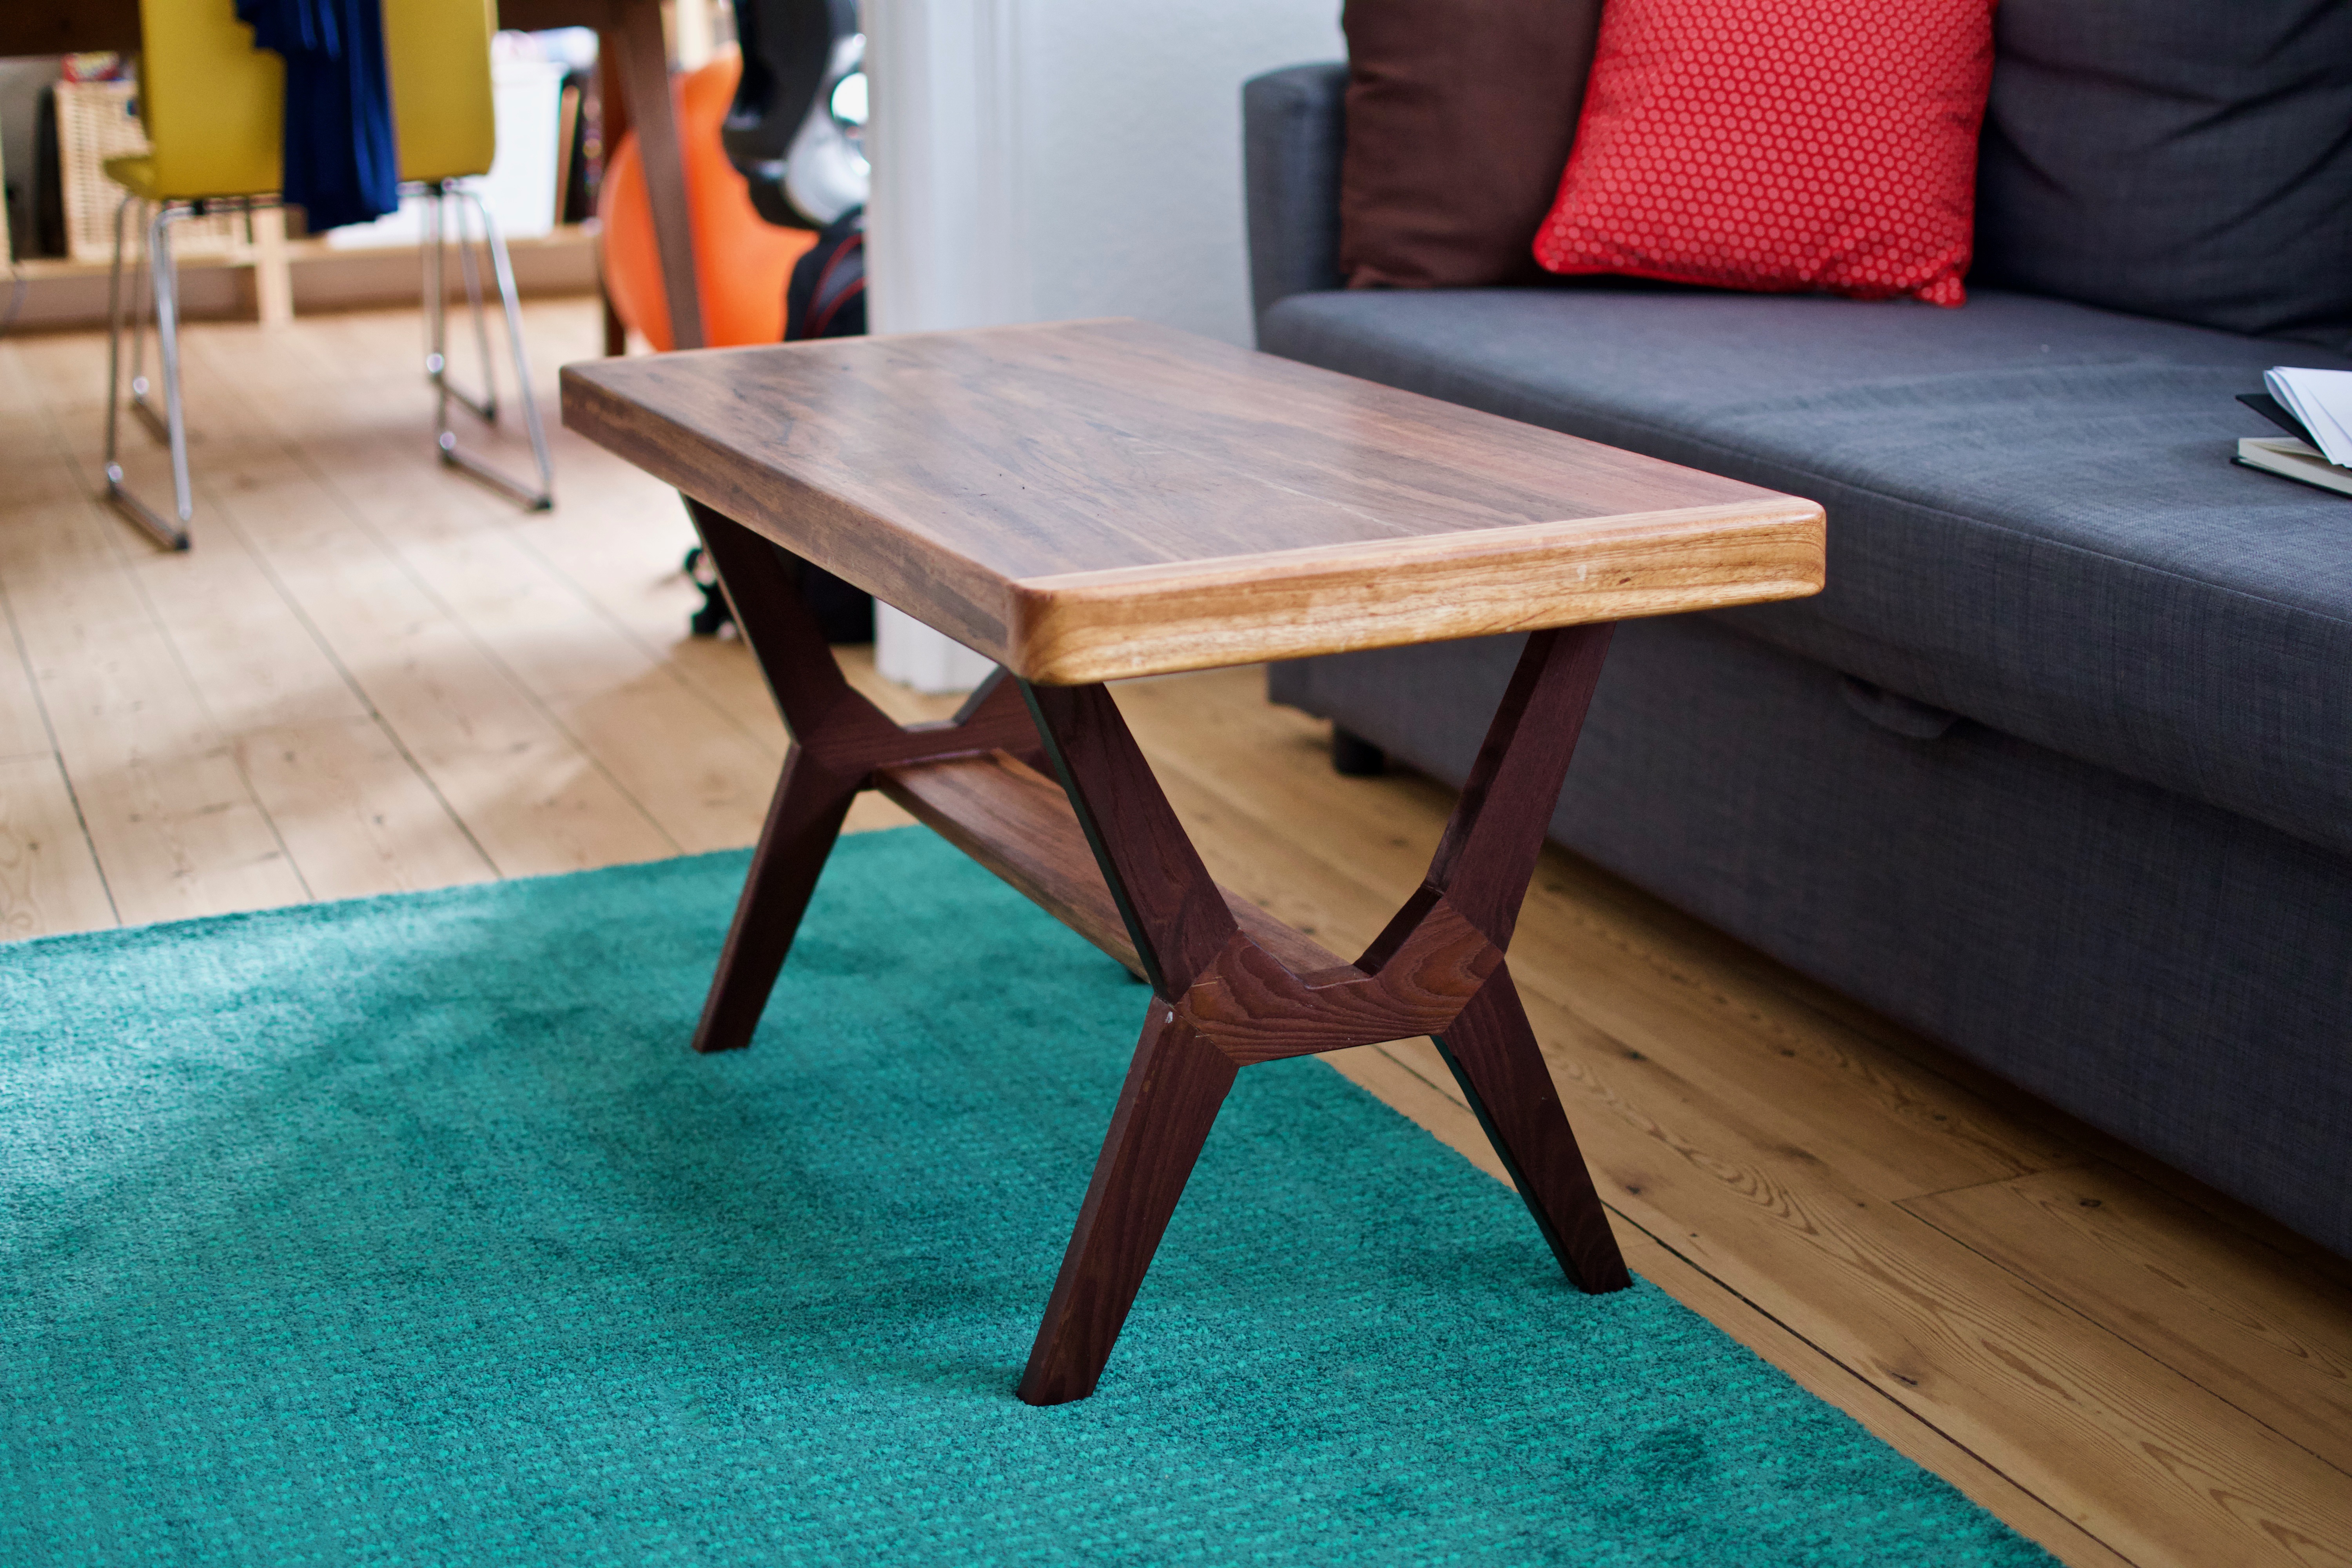
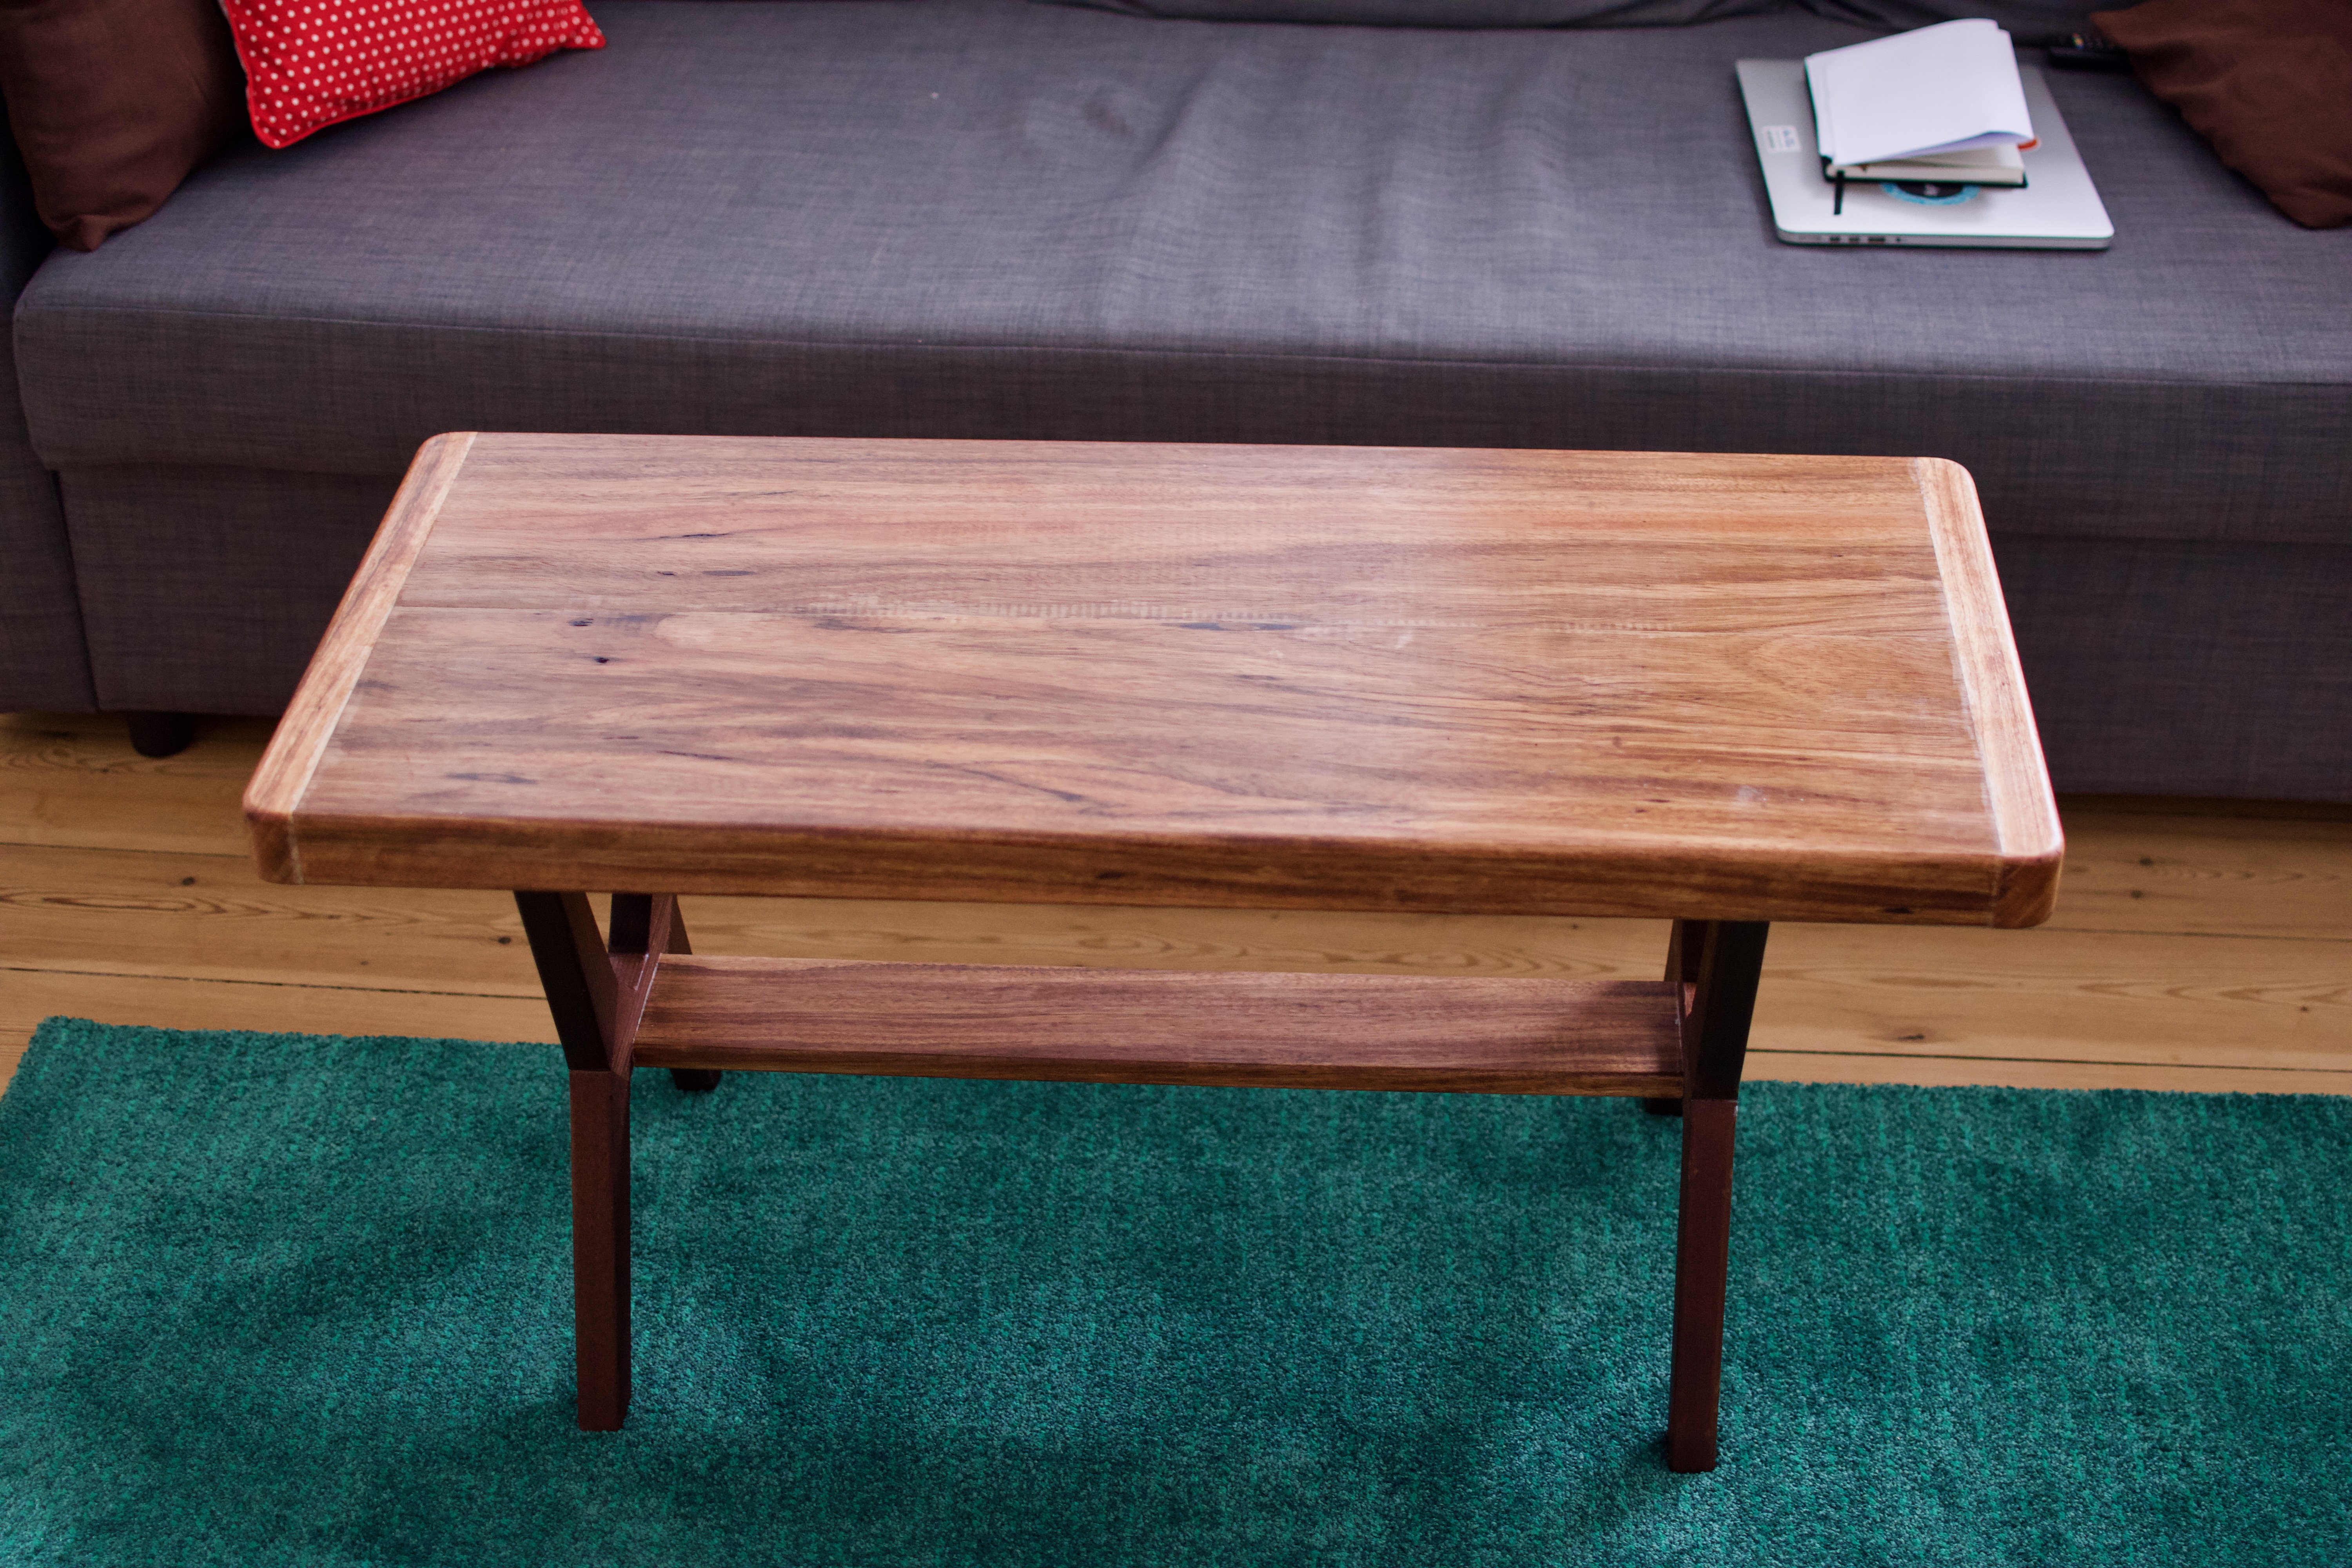
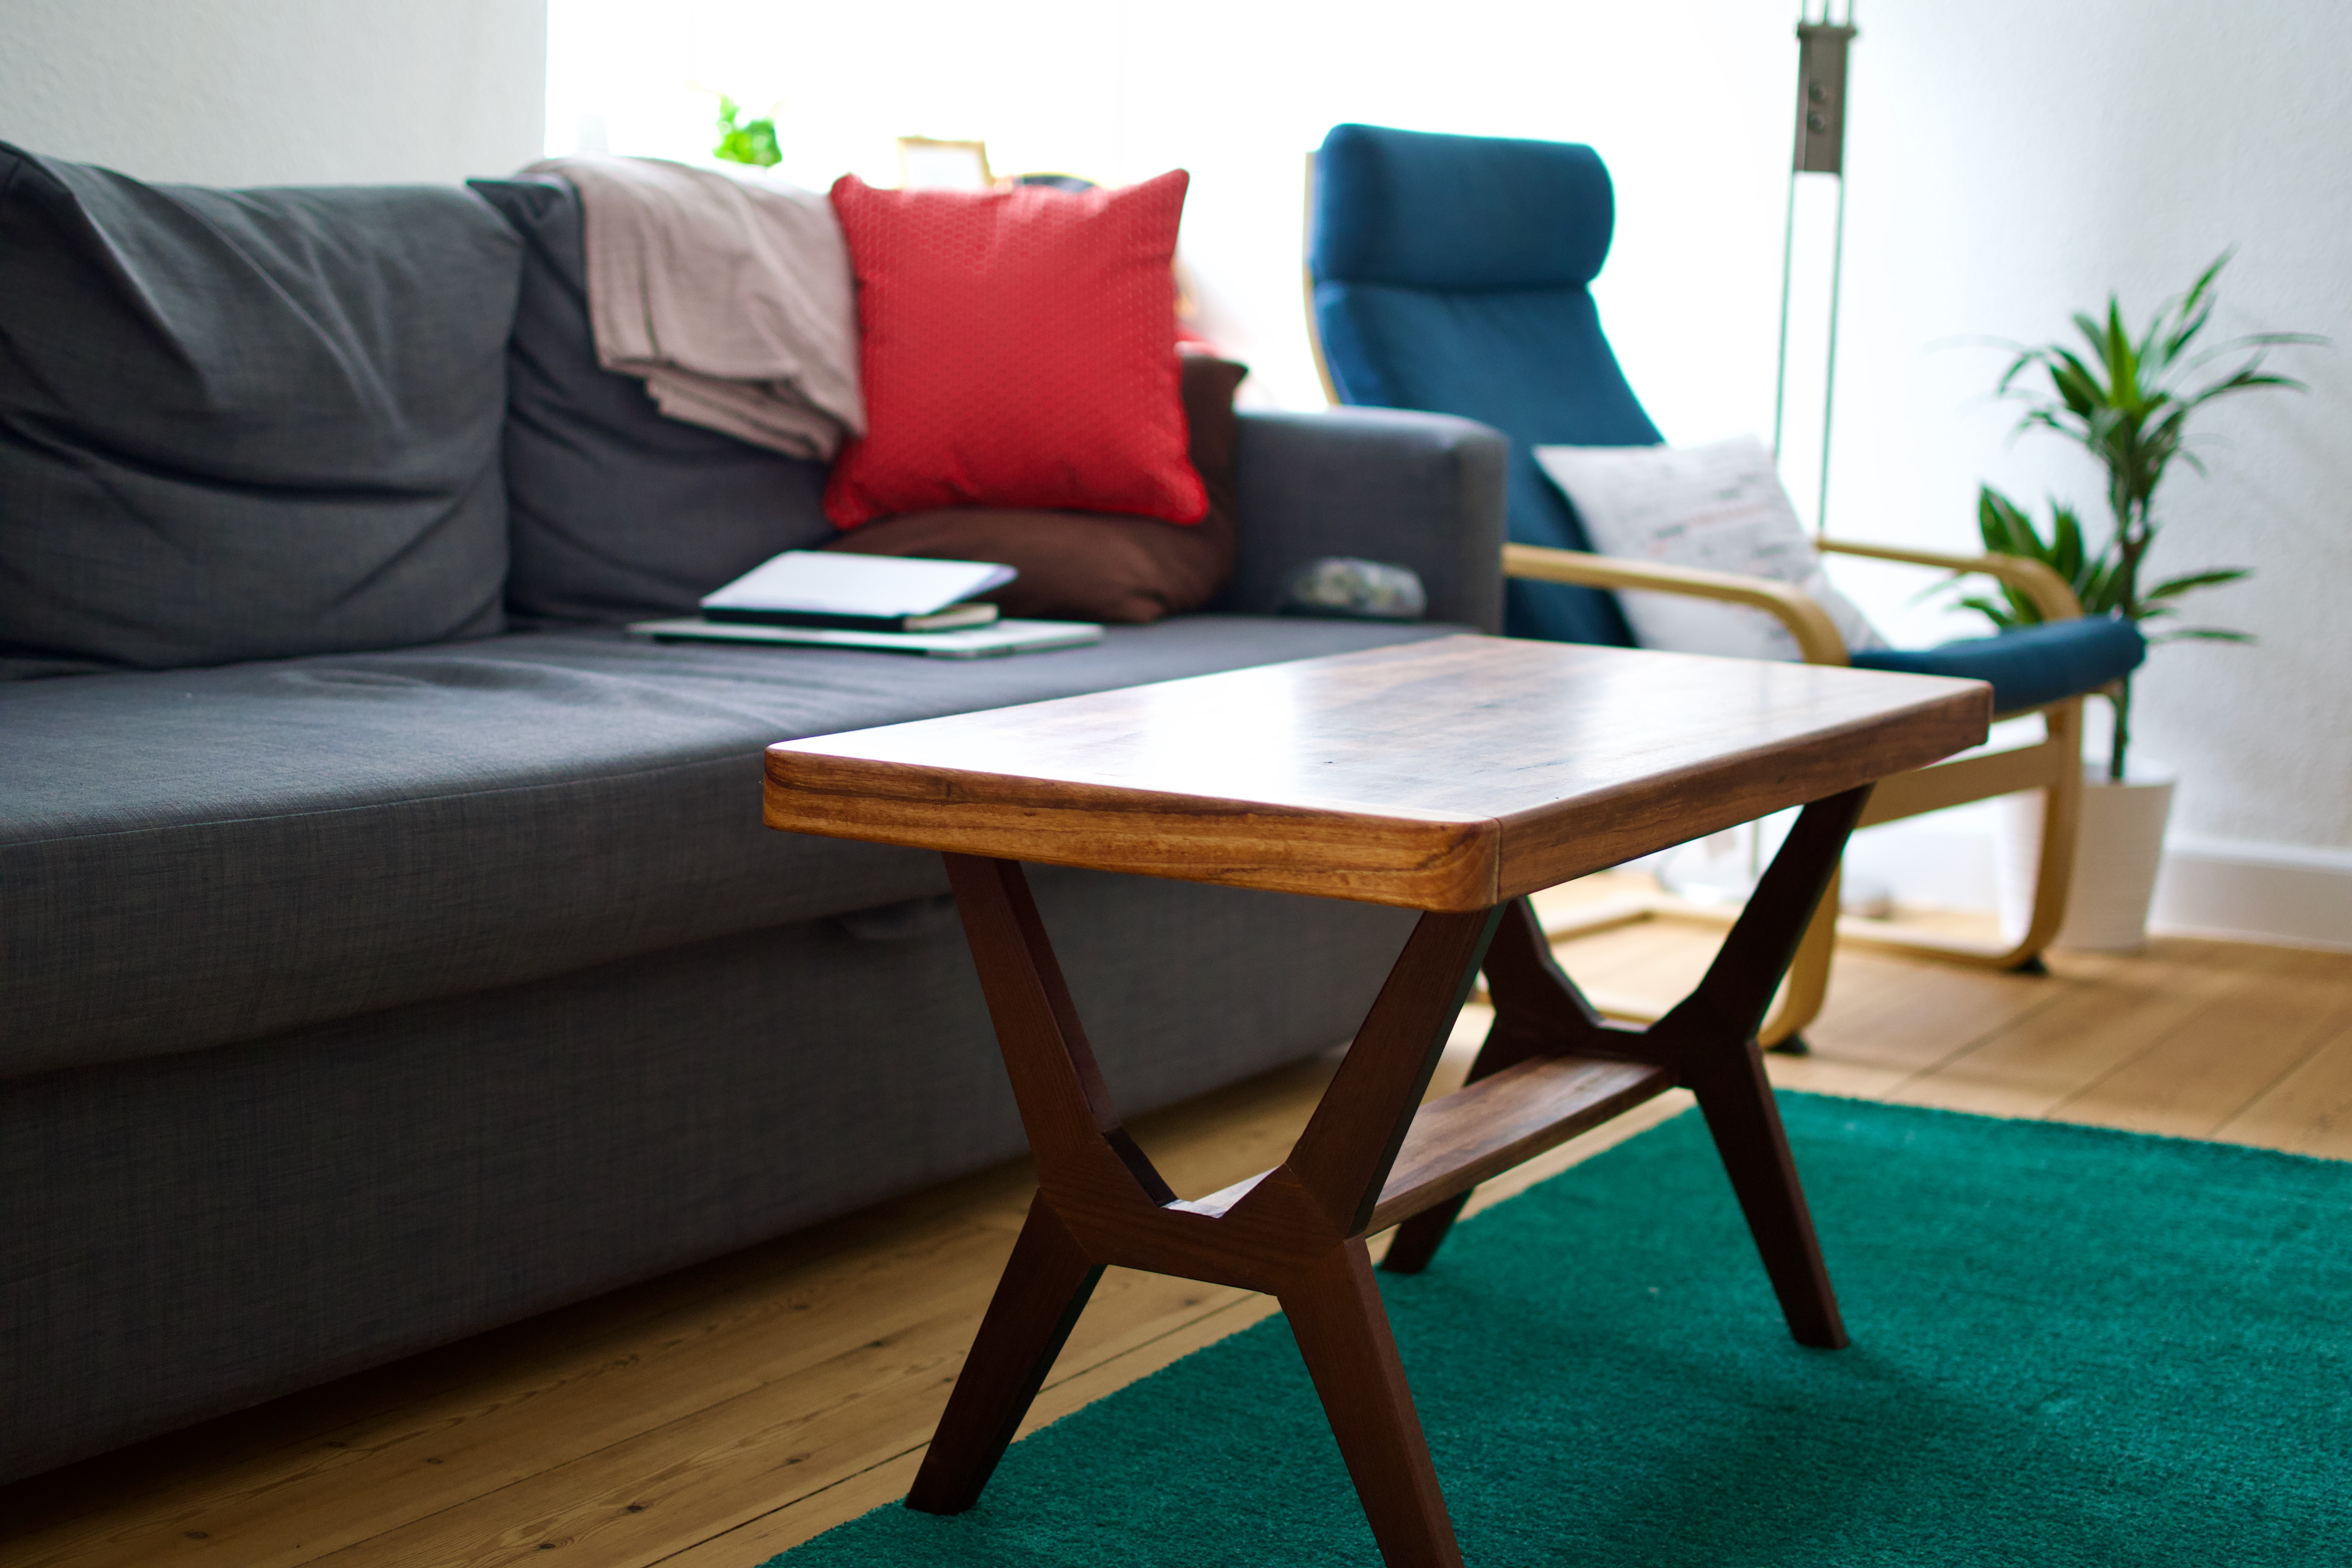
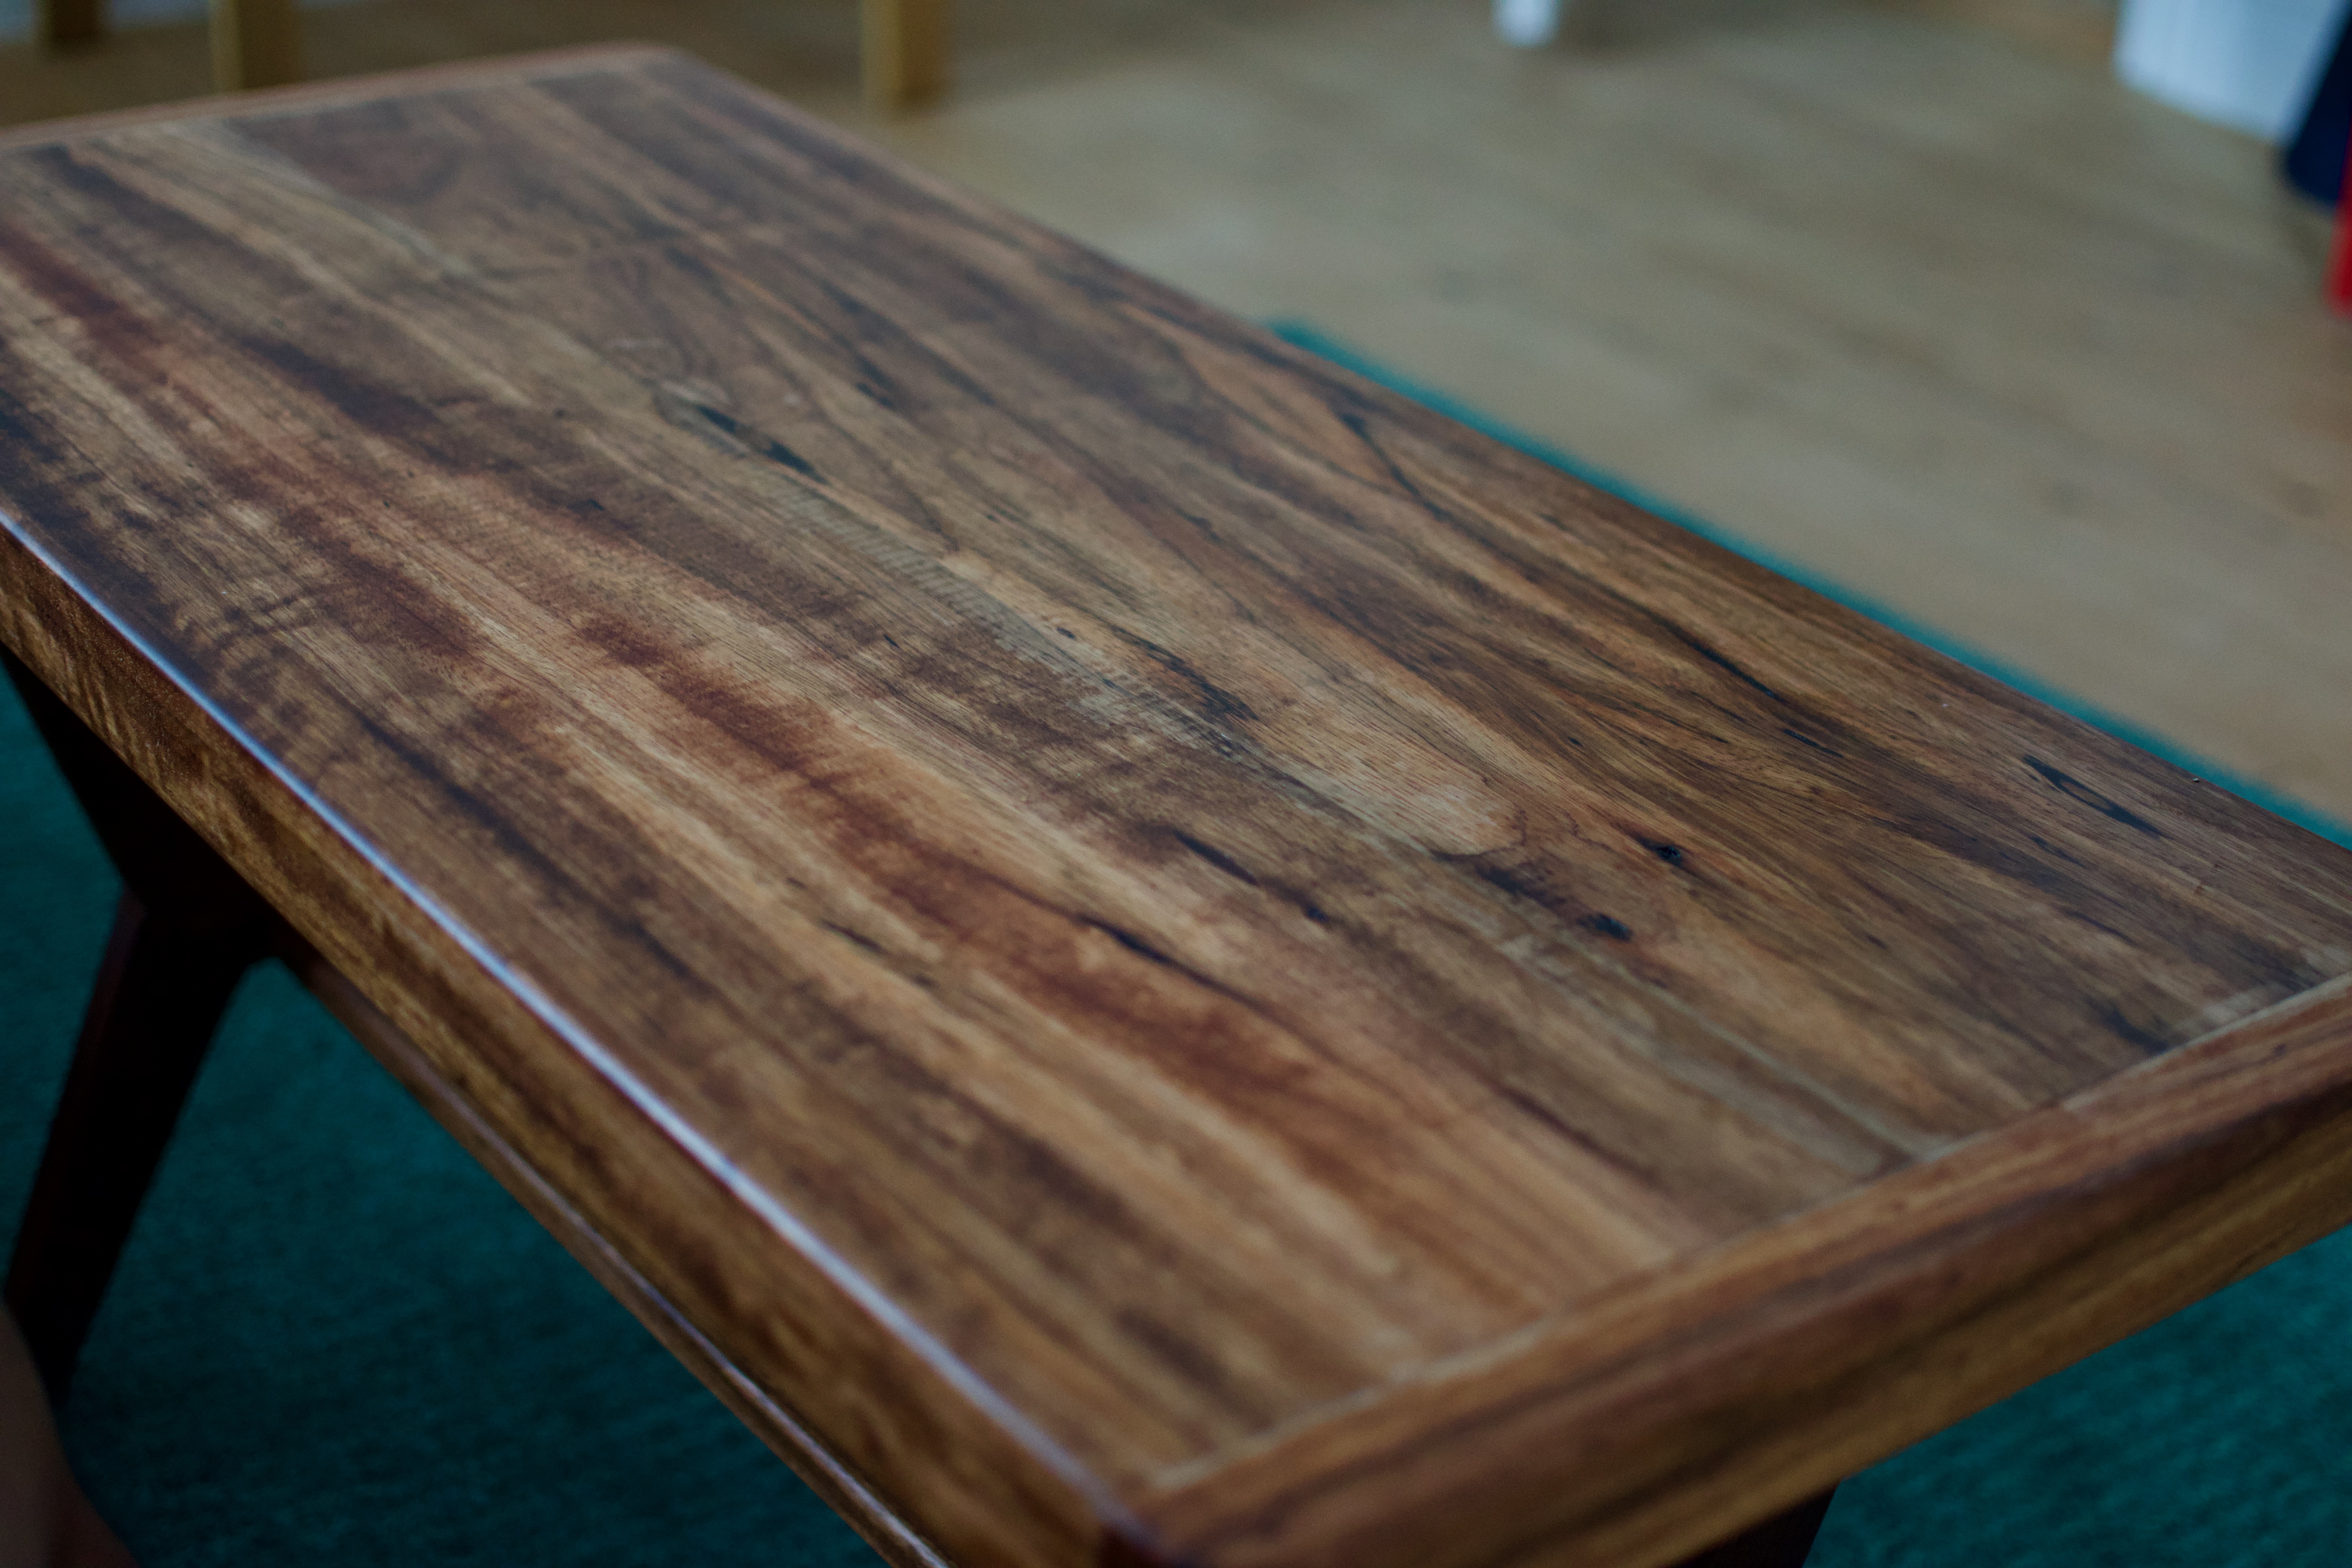
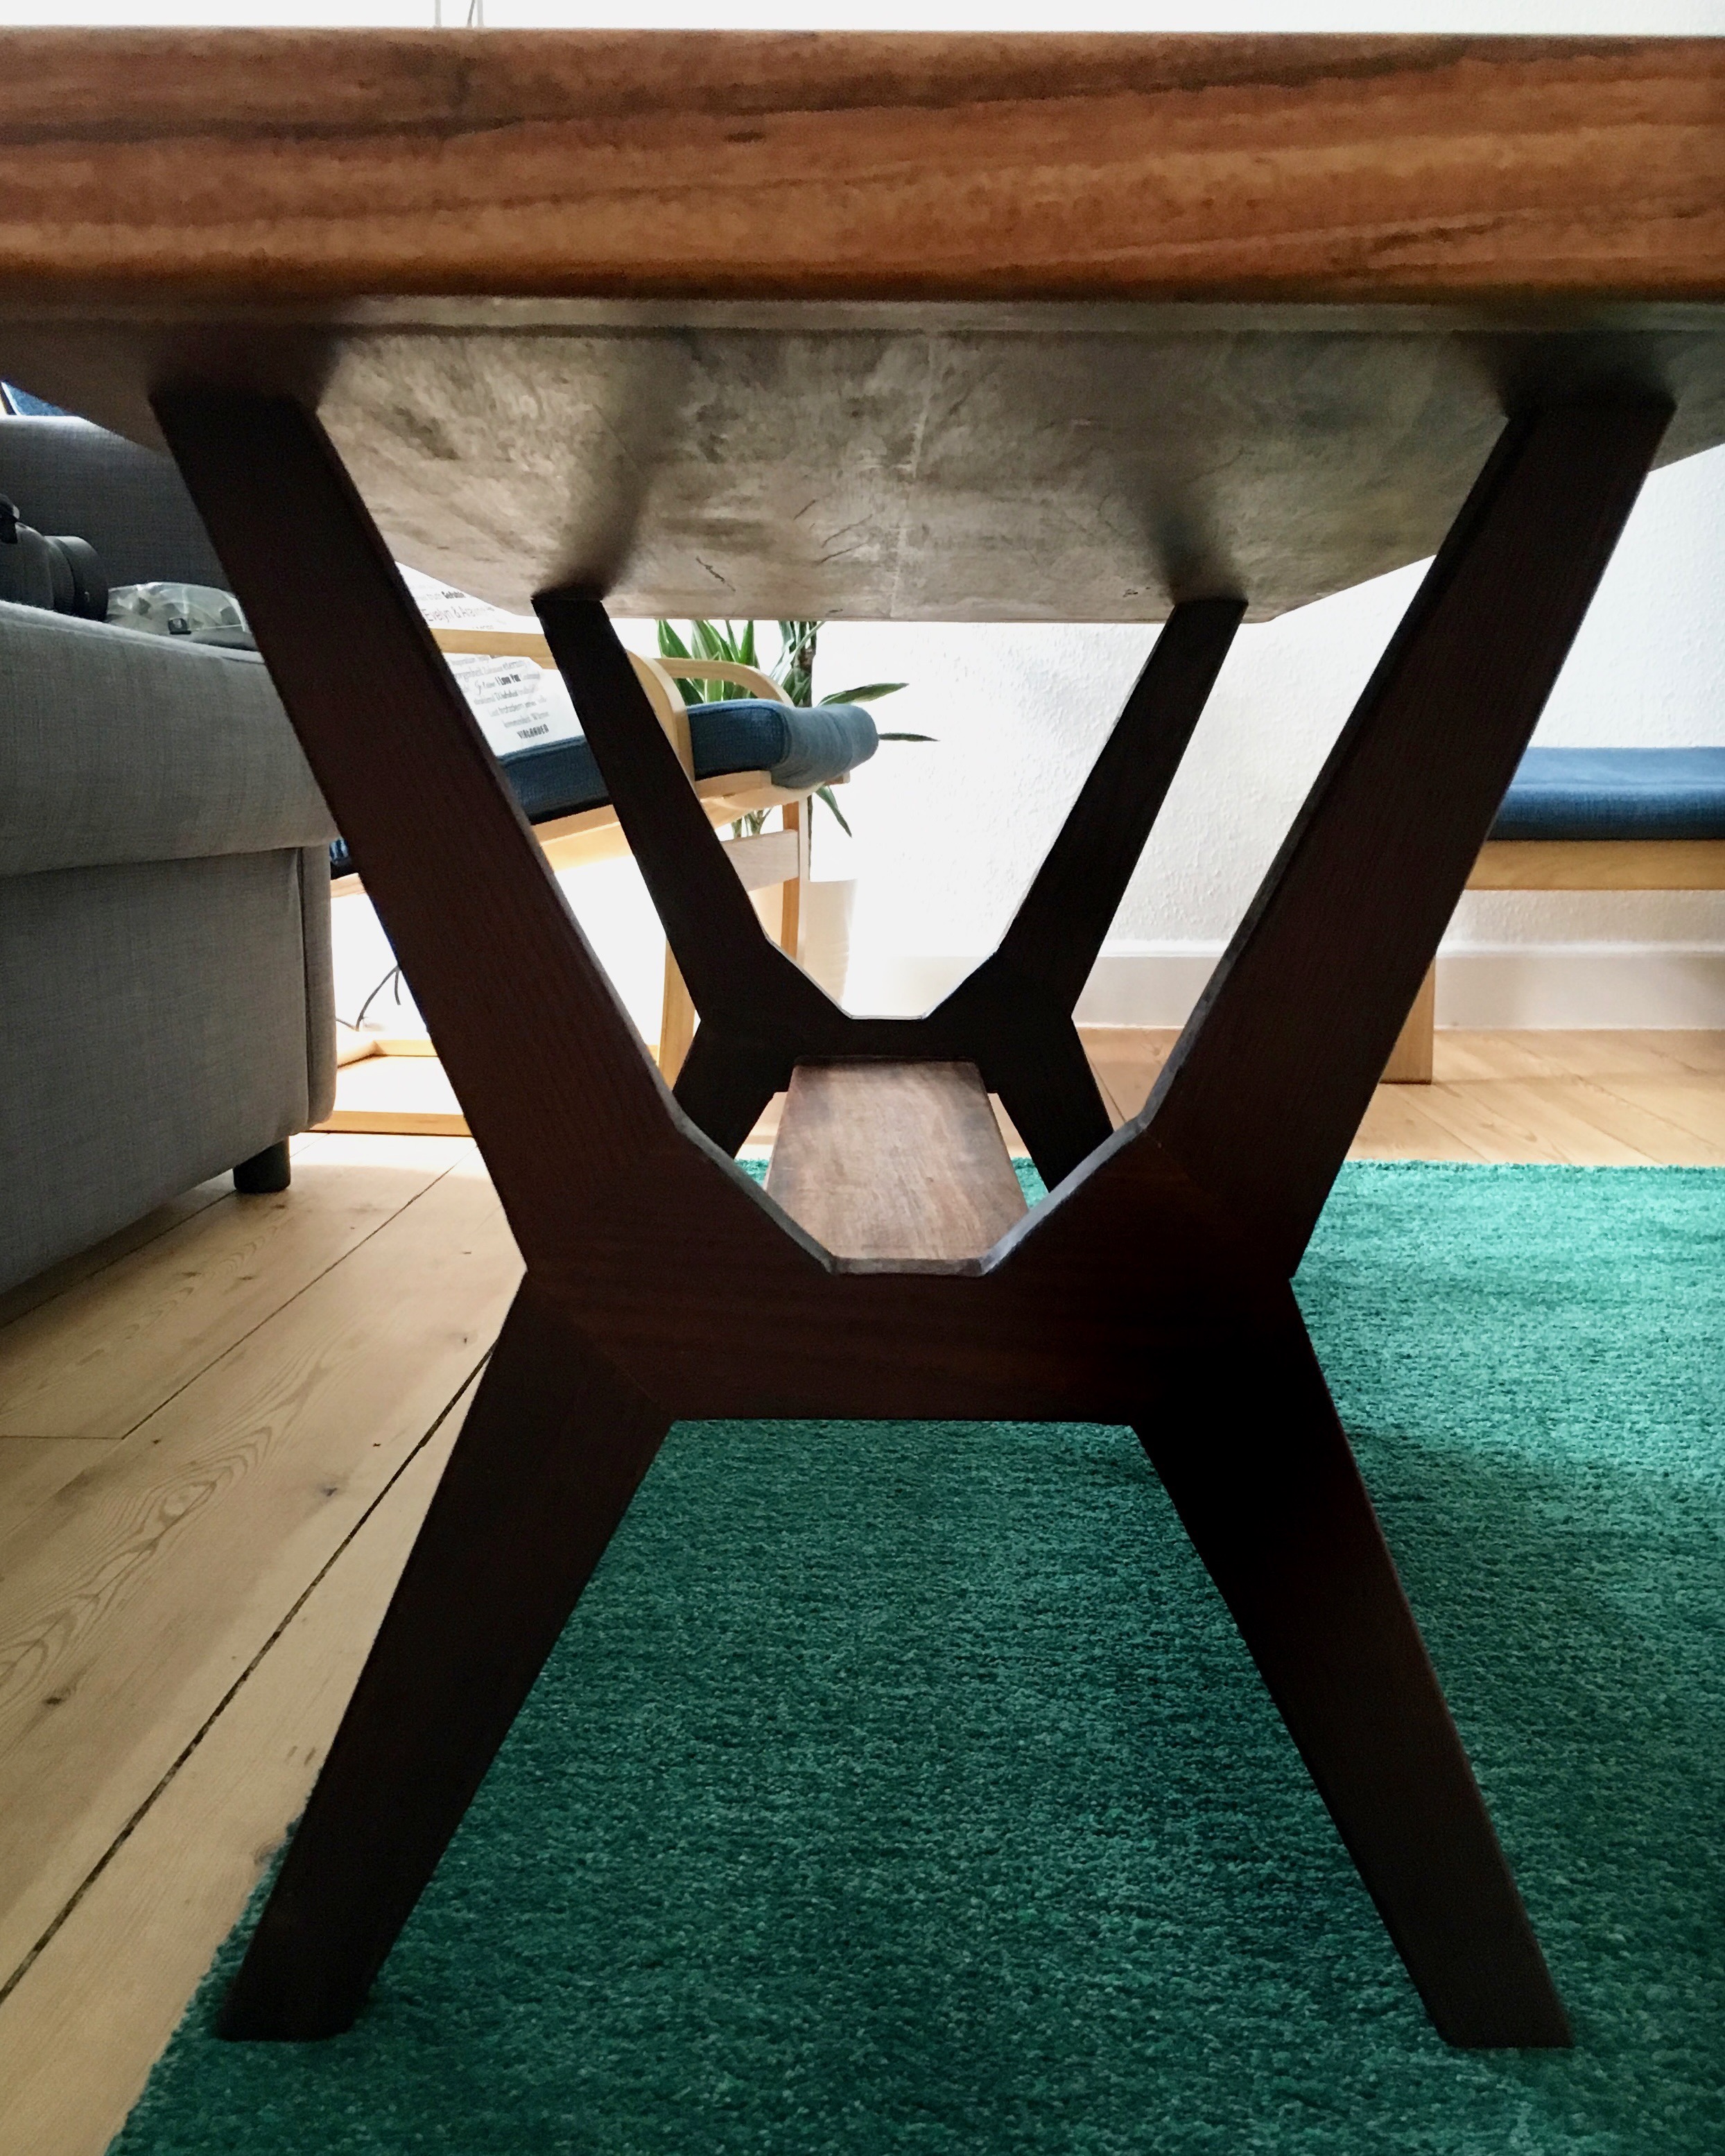
Finished table
Pretty proud of how it turned out.